1956 Chevy Belair Painless Wiring Install How-To
By Dennis Overholser
Get the step-by-step as Jim Whittenburg of Custom Auto Wiring installs Painless Performance Product’s 18-circuit universal wiring kit (#10202) into Roc Strickland’s 1956 Belair.
Page 1:
- Getting Started
- Removing old wiring
Page 2:
- Layout the new wiring harness
- Start routing wires
- Mounting the fuse block
- Ignition Switch wiring
Page 3:
- Light switch wiring
- Turn signal wiring
- Dakota Digital Dash wiring
- Tail lights wiring
Page 4:
- Head and turn signal wiring
- Engine compartment wiring
- Final Test
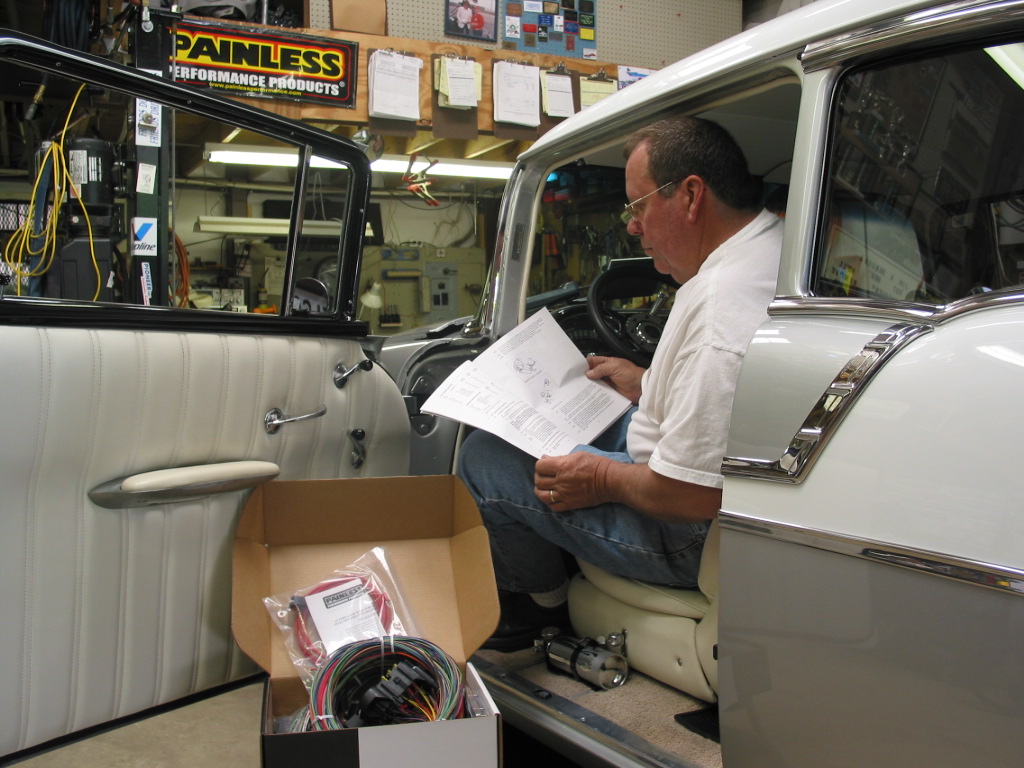
Jim sits in the 56 and refreshes himself on the installation instructions furnished in the Painless wiring kit. Even though he has installed several over the years, he always checks for improvements added to the manual.
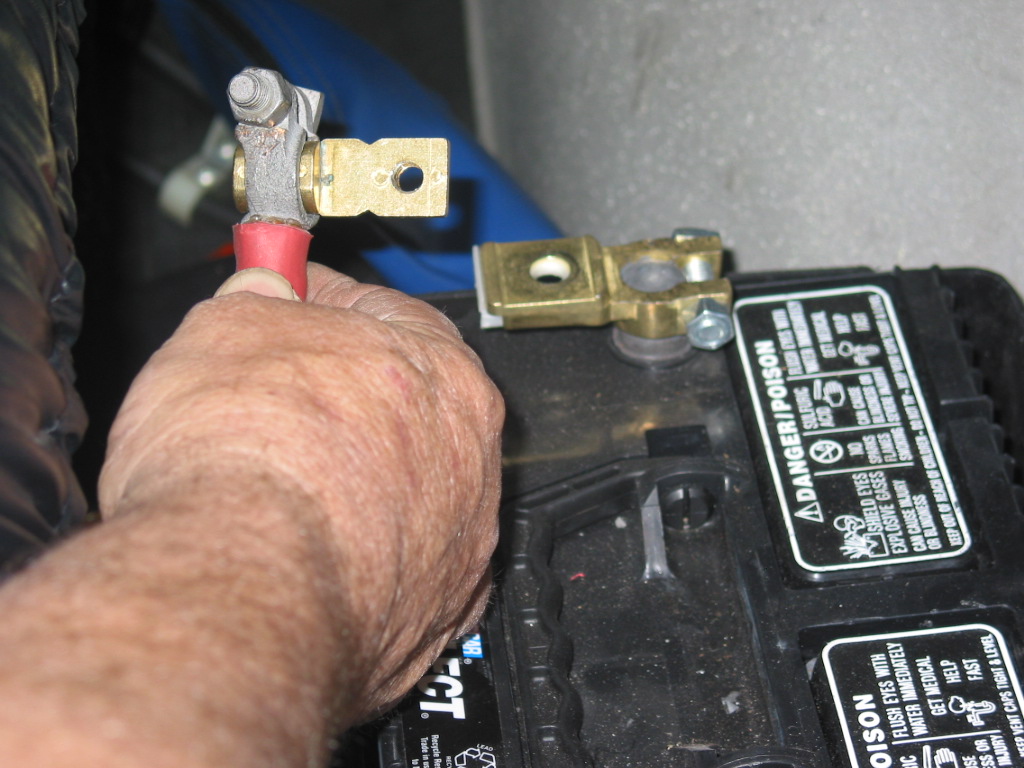
When doing any type of wiring repair or installation the first thing to do is disconnect the battery for safety.
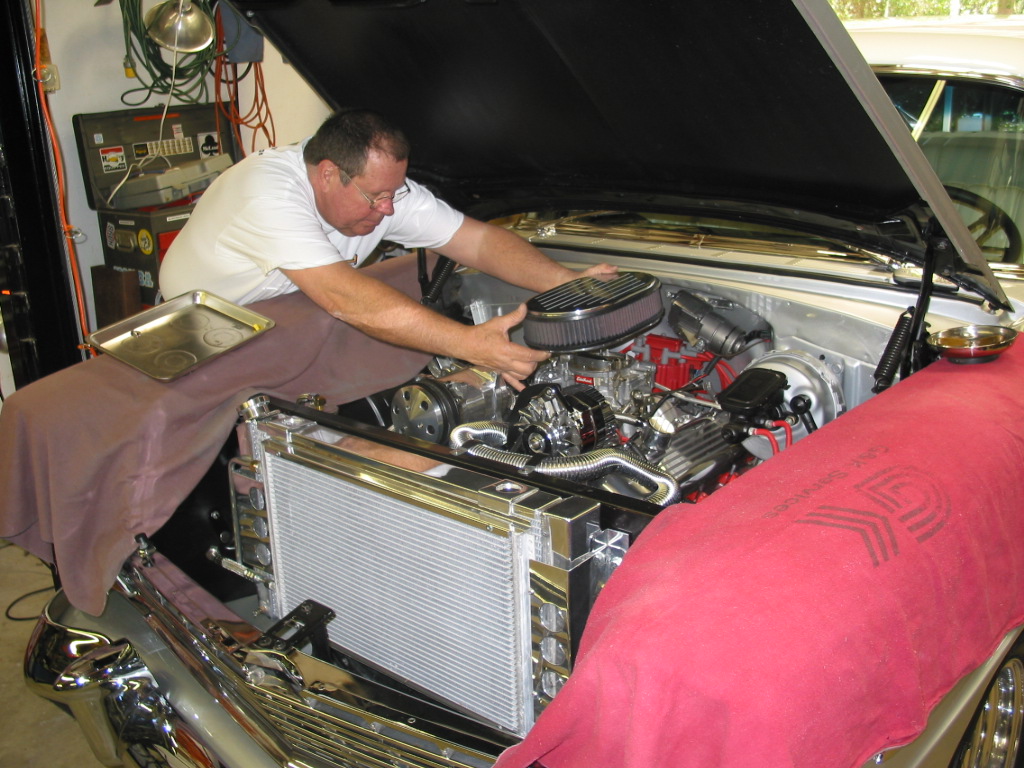
Jim has a plan and he likes to remove any accessory that might be in the way when routing the wires. Here he removing the air cleaner for better engine access.
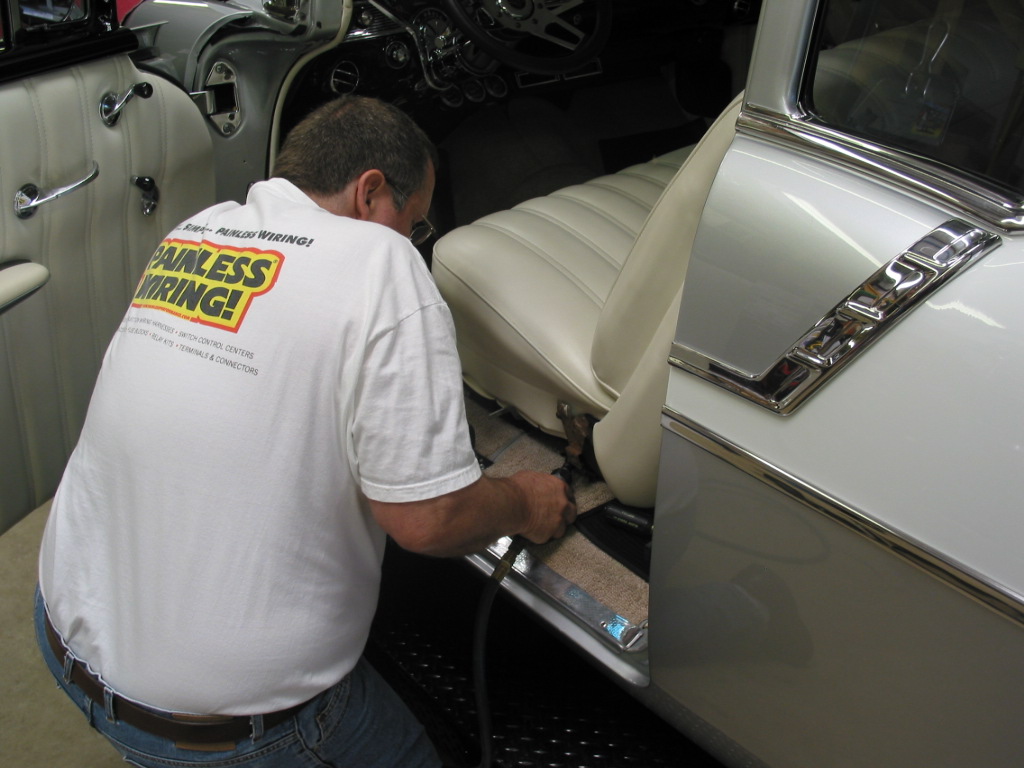
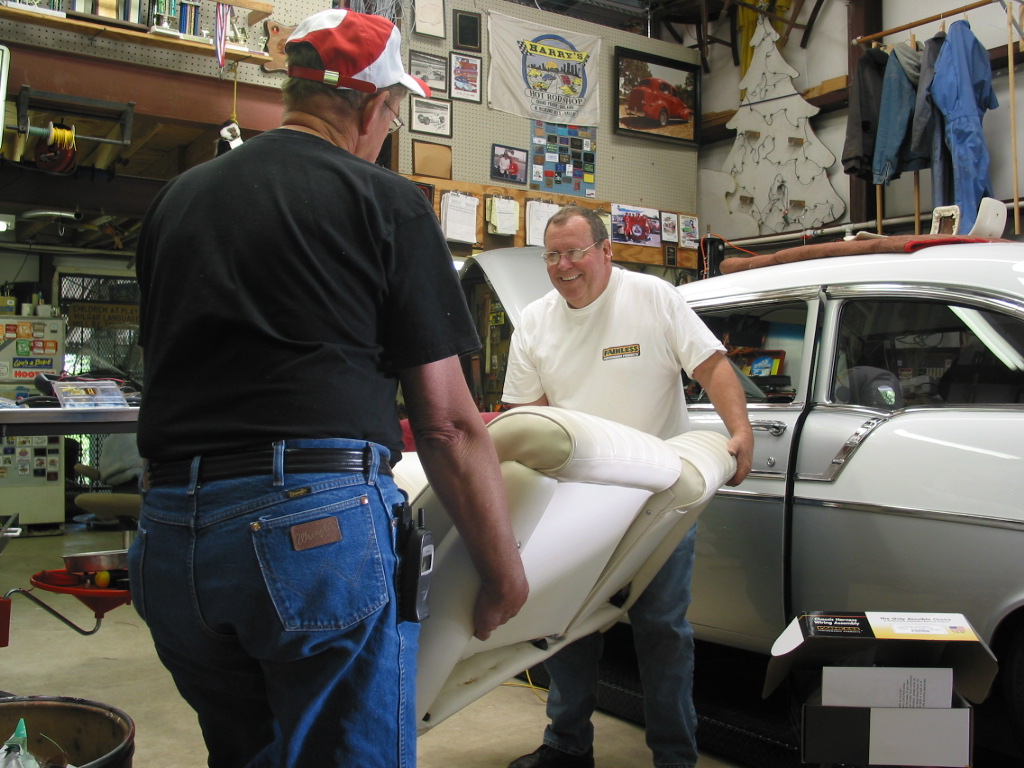
For better access to the under dash, the seat and fire extinguisher will be removed.
John Roberts came by just in time to help Jim remove the seat.
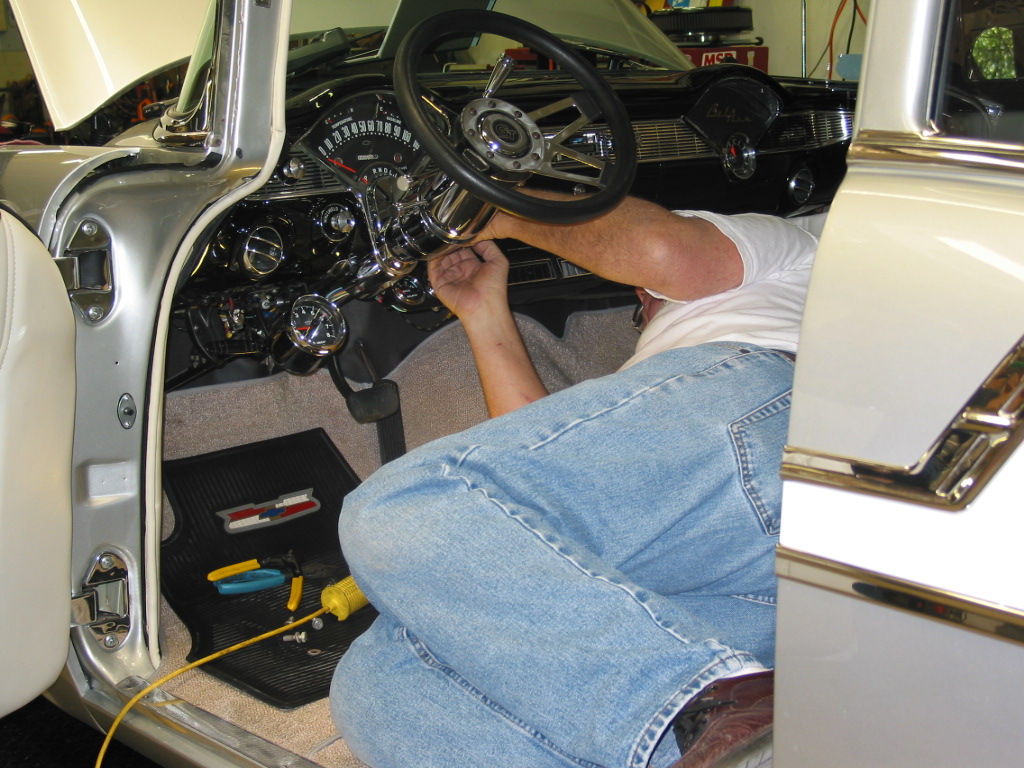
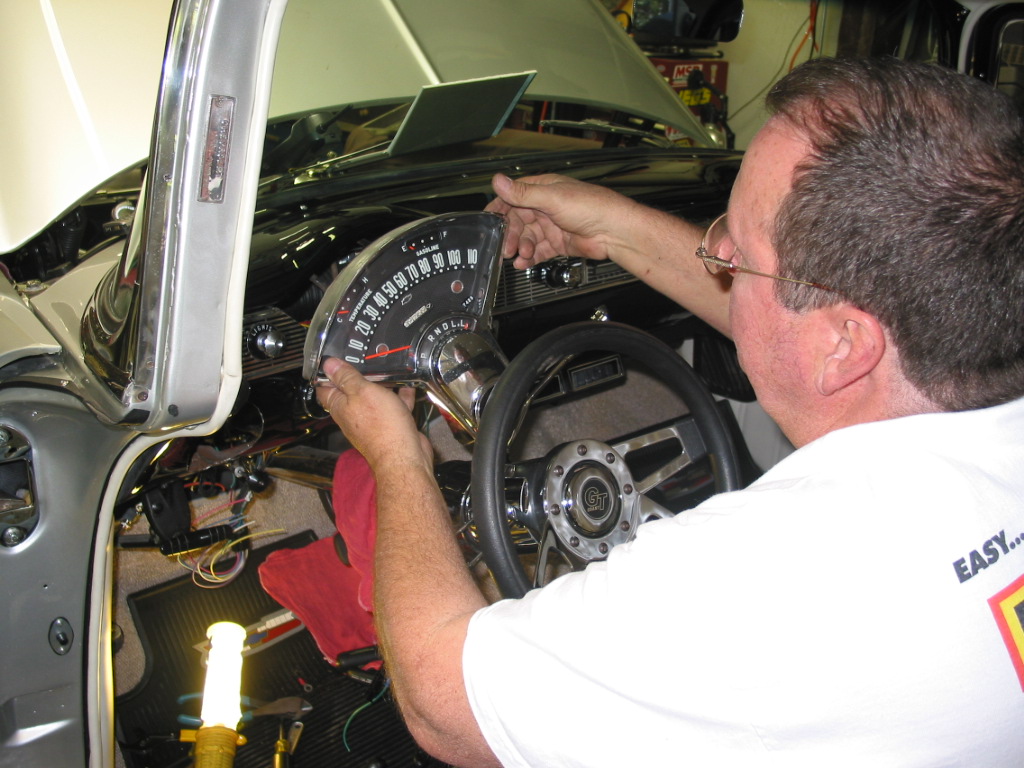
Next Jim starts removing all the switches and add on gauges. A mental note is made to where some of the new wires will need to be attached later. He keeps a note book handy to jot down things he may not be able to remember.
With the steering column dropped down, the dash panel assembly can now be removed.
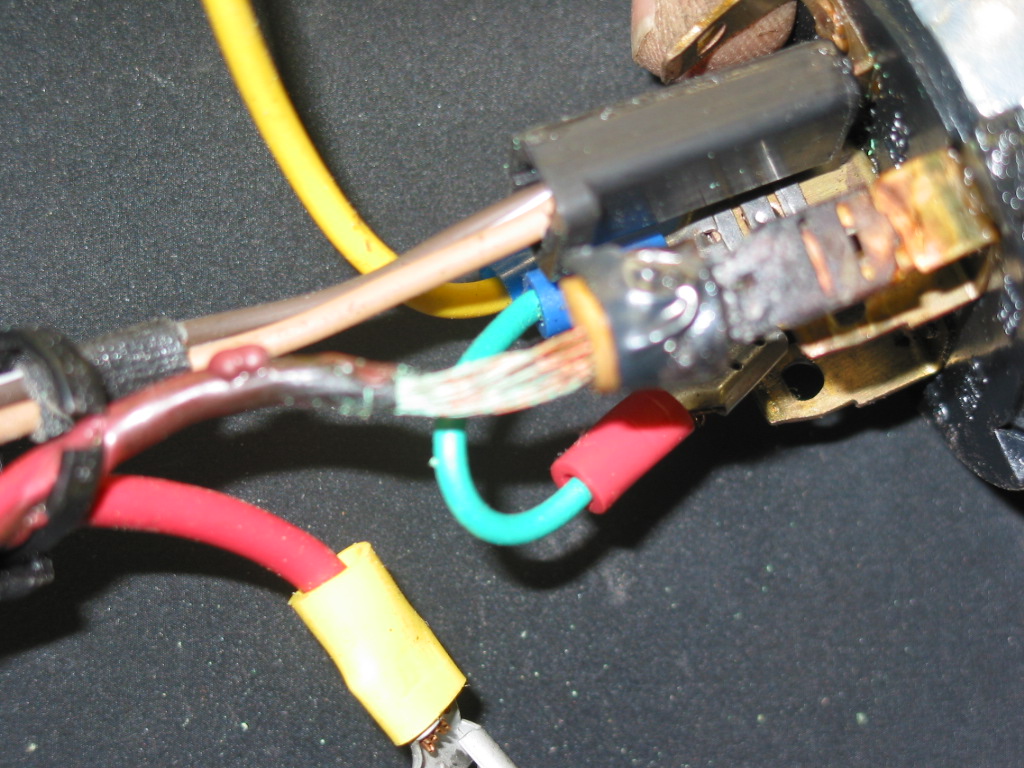
As Jim suspected, he found several burnt wires. The main power wire shown here had been hot enough to melt off the insulation. The car owner was very lucky there wasn’t a fire.
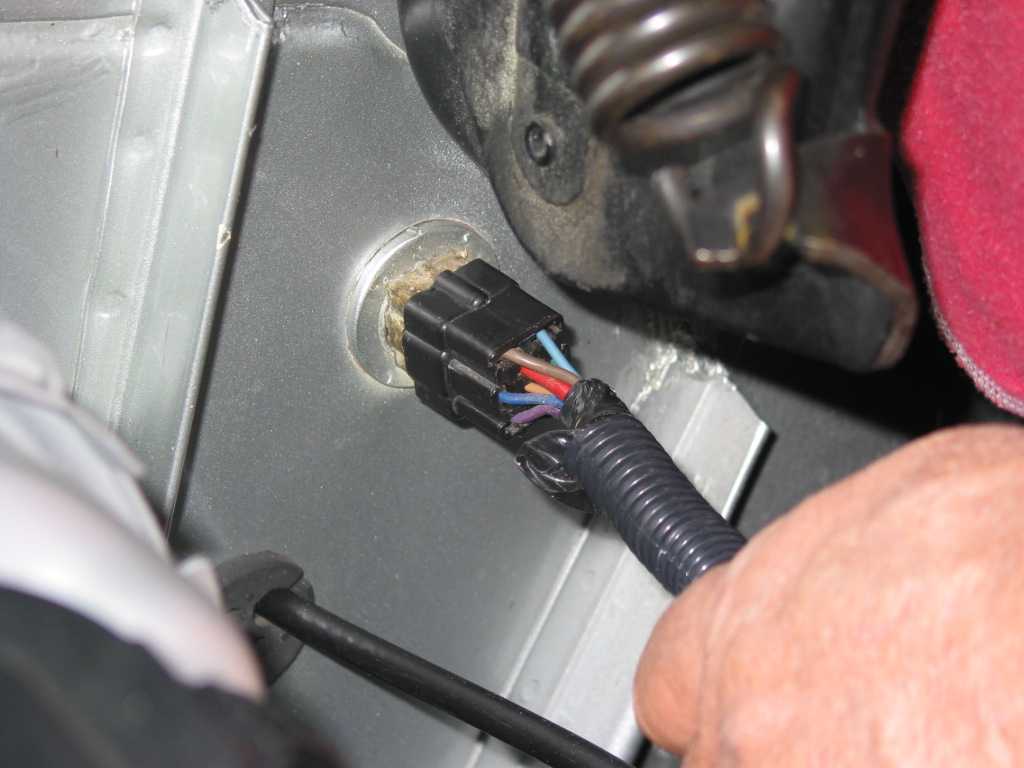
Removal of wires continues with the engine compartment. The main front loom here is removed and the old hard grommet will also be replaced later.
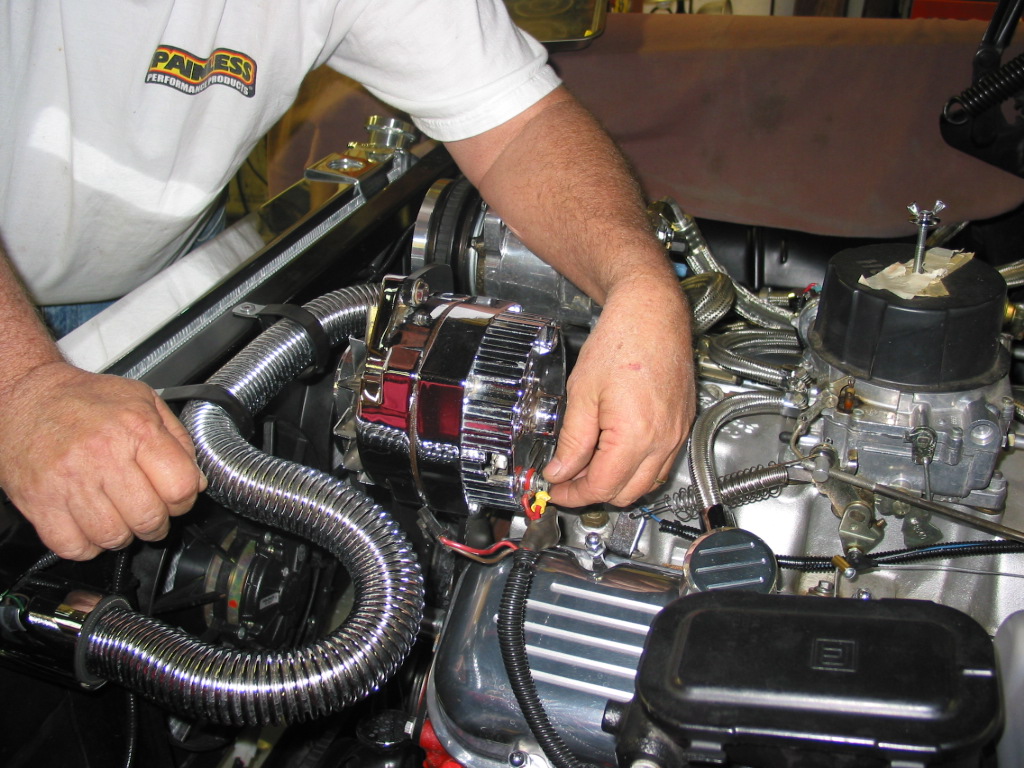
The wires for the alternator and all the rest of the accessories and sensors are removed.
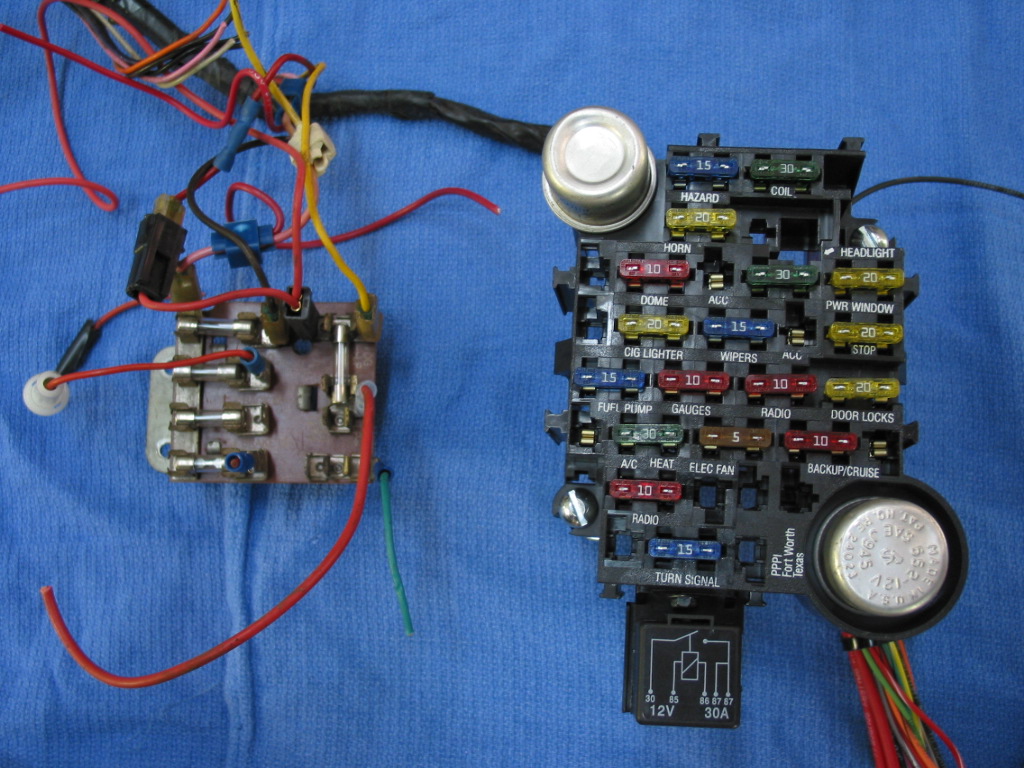
Now that all the wiring has been removed, the original fuse panel with 5 fuses can be compared to the new fuse block with 18 fuses. The large fuse block was chosen because the owner is considering adding power windows and locks later. It’s always better to have to many available circuits than not enough.




What size diode is between the two terminals to provide constant power to the coil that is shown in the picture?
Yes, what size diode please?