1956 Chevy Belair Painless Wiring Install How-To
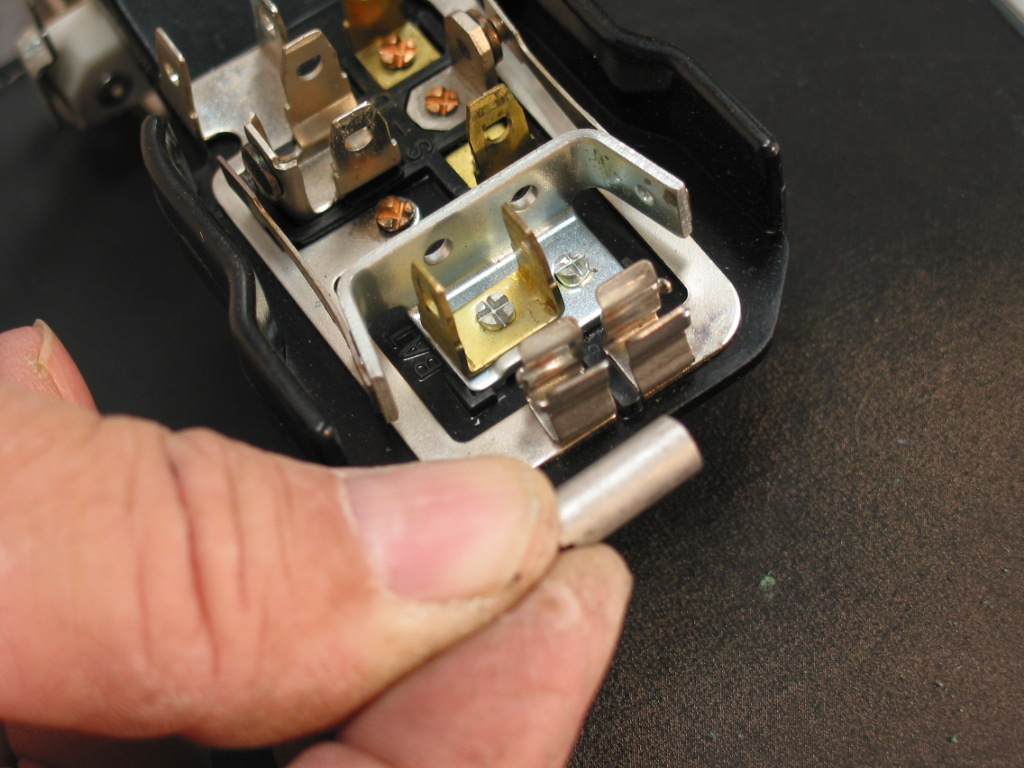
The original 1956 light switch had its own fuse, up where you couldn’t get to if needed. The new fuse block has the lights fuse in it so a small piece of metal tubing was cut and installed in place of the original fuse .
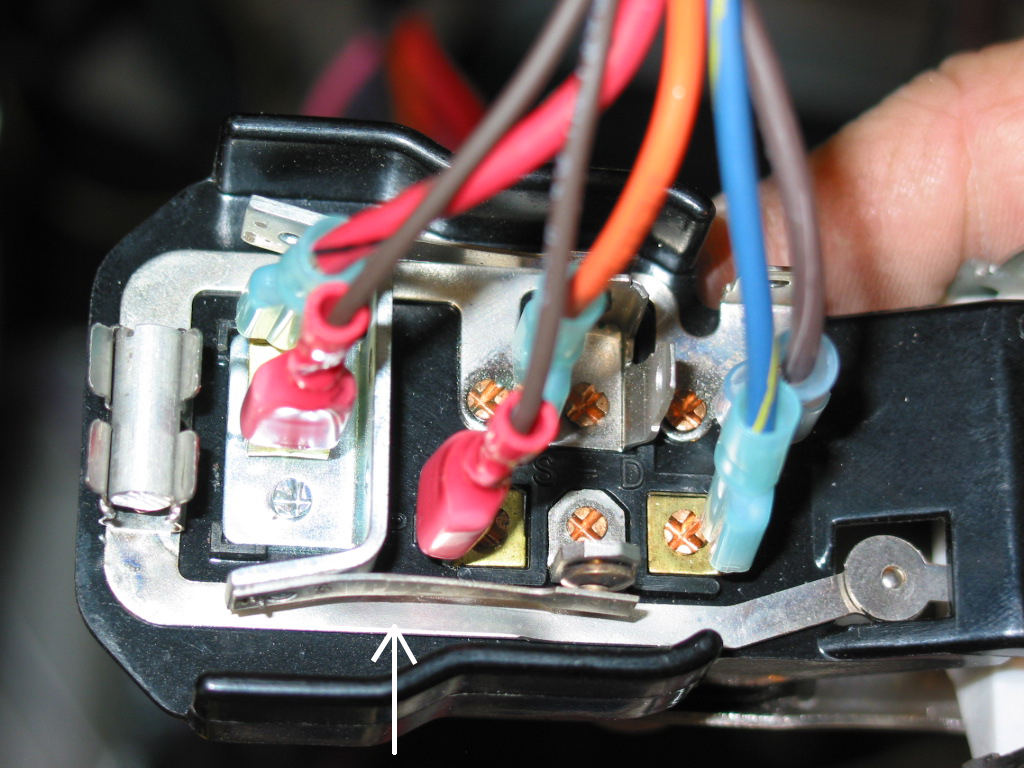
With the wires installed, there is one more unique item on the switch. The arrow points out one of a pair of external circuit breakers. These are designed to trip if a short appears in the headlight circuit.
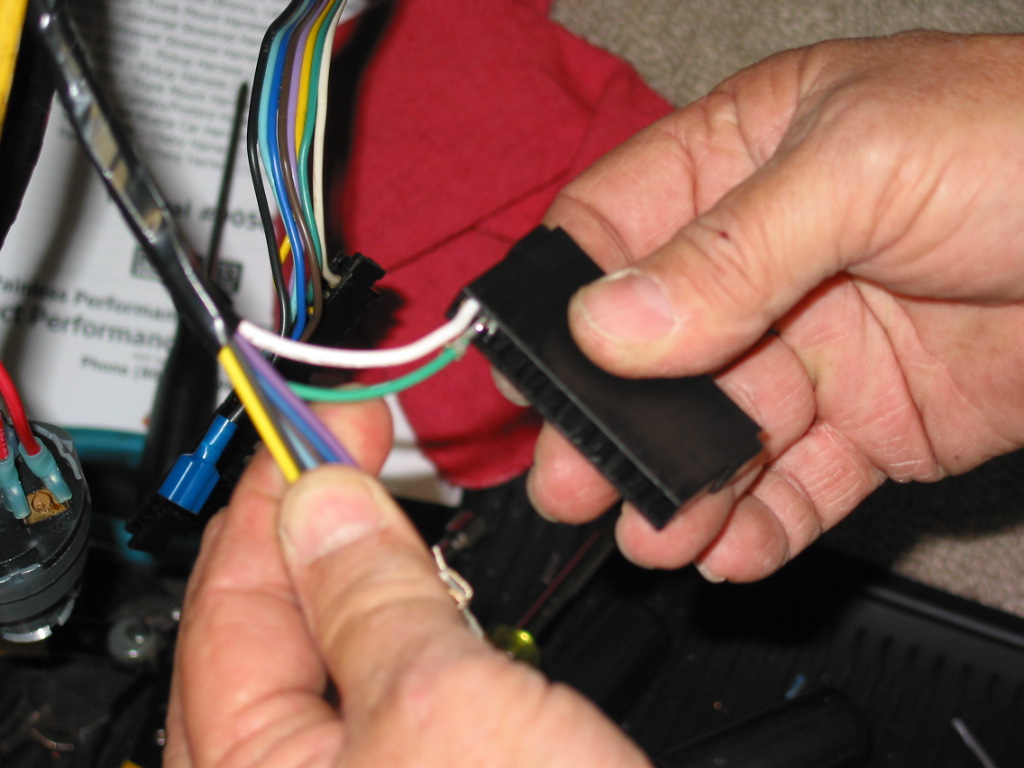
The last major thing to wire is the turn signal connector. An IDIDIT column had been installed previously so a newer connector was installed. The Painless harness color code matched the color code for the new column which made the task extra simple.
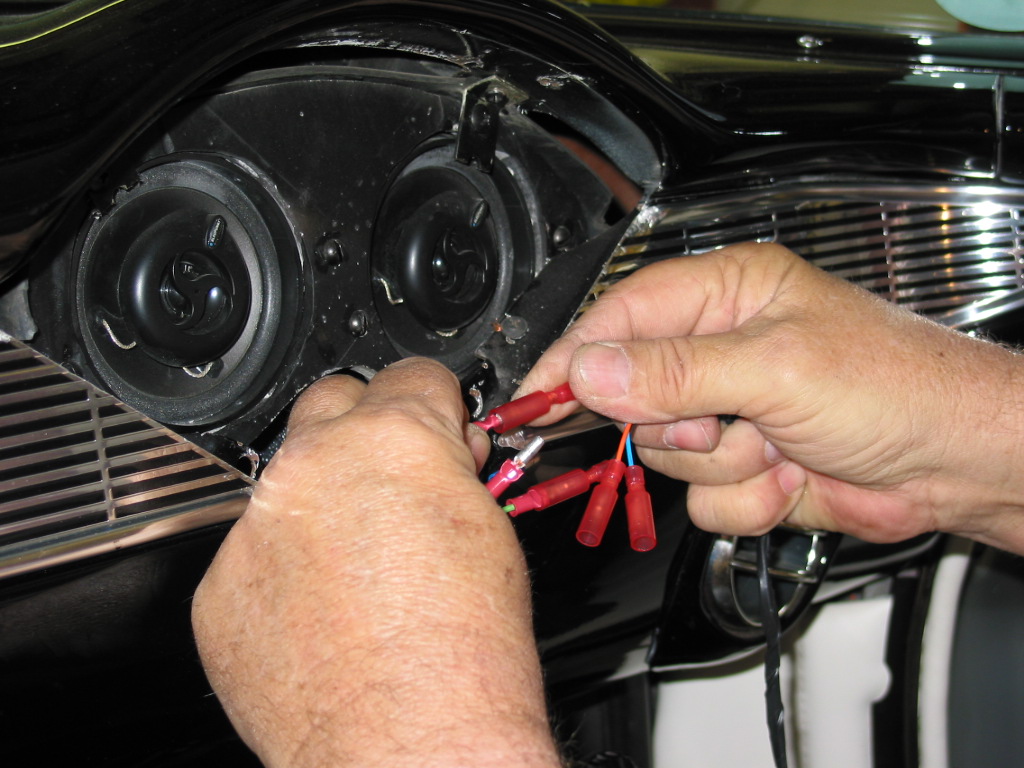
The speaker bezel was removed and the clock wires were replaced. Quick disconnect terminals were used for easier servicing later.
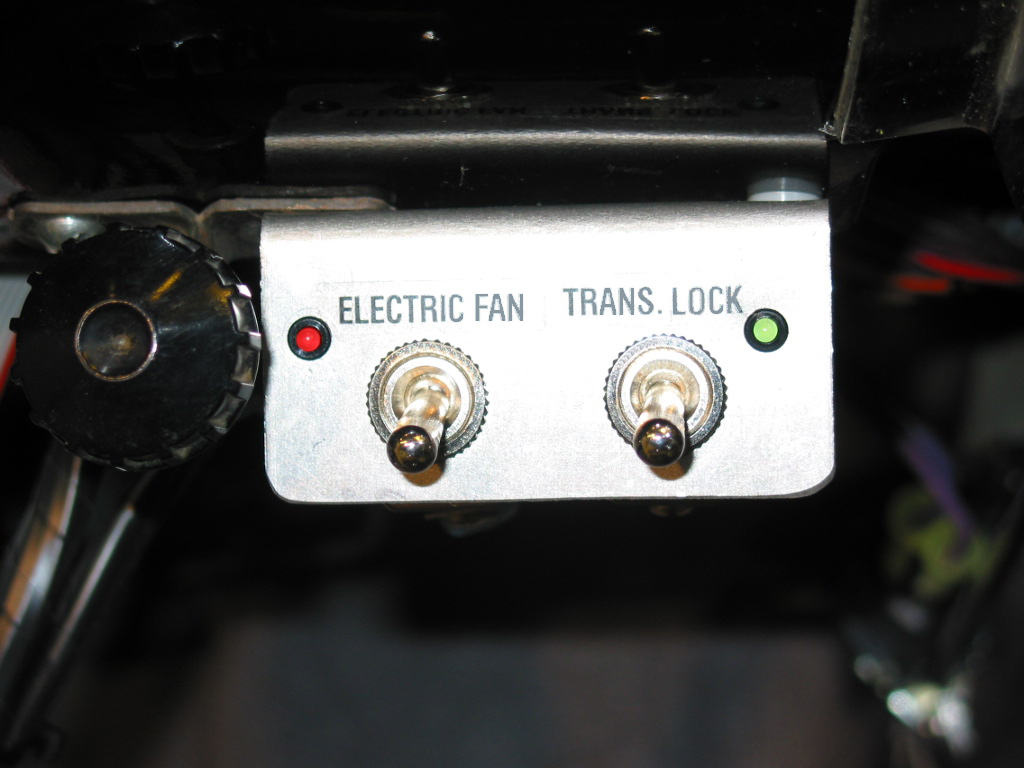
The car was equipped with a lock up converter and electric fan so Jim fabricated a small switch panel with toggle switches and indicator lights that illuminate when switched on.
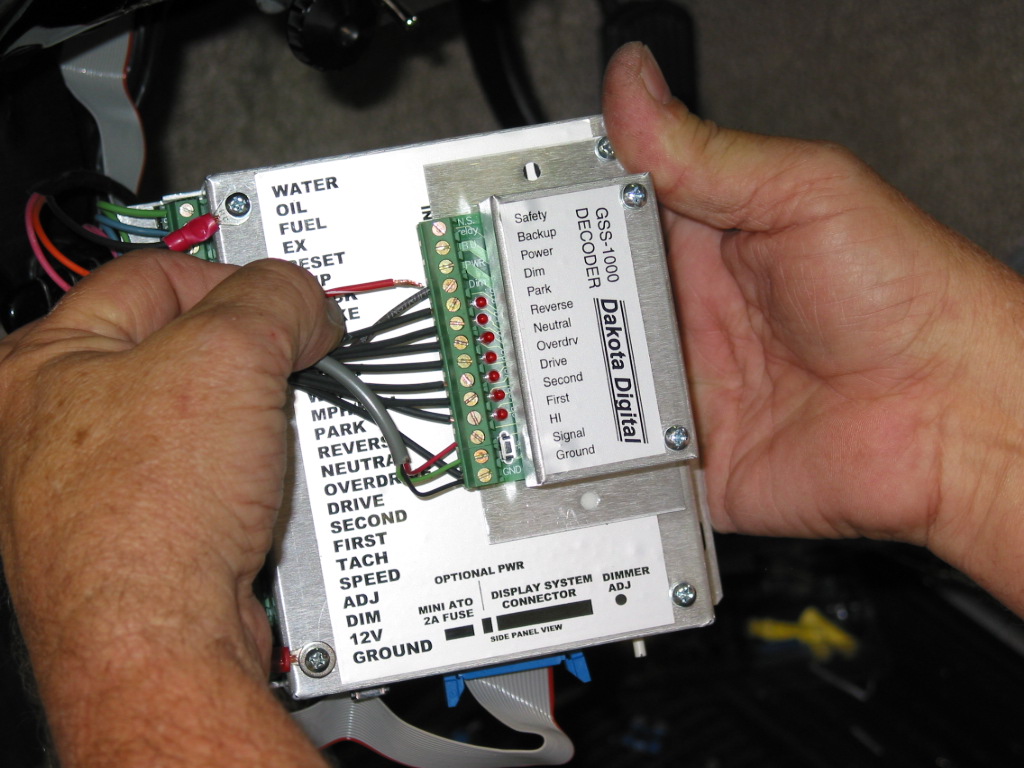
The last under dash item was the Dakota Digital computer. The Painless wires were easily attached and then the computer was mounted.
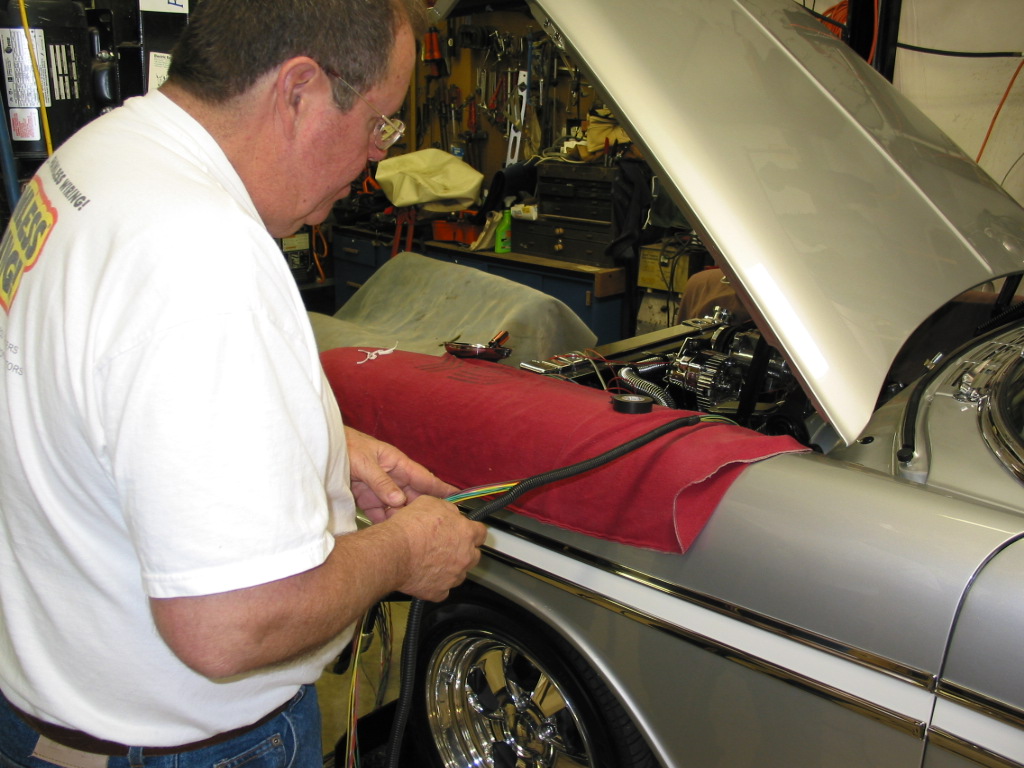
Jim is now ready to start routing wires in the engine compartment. A little more spot tape will help hold wires together.
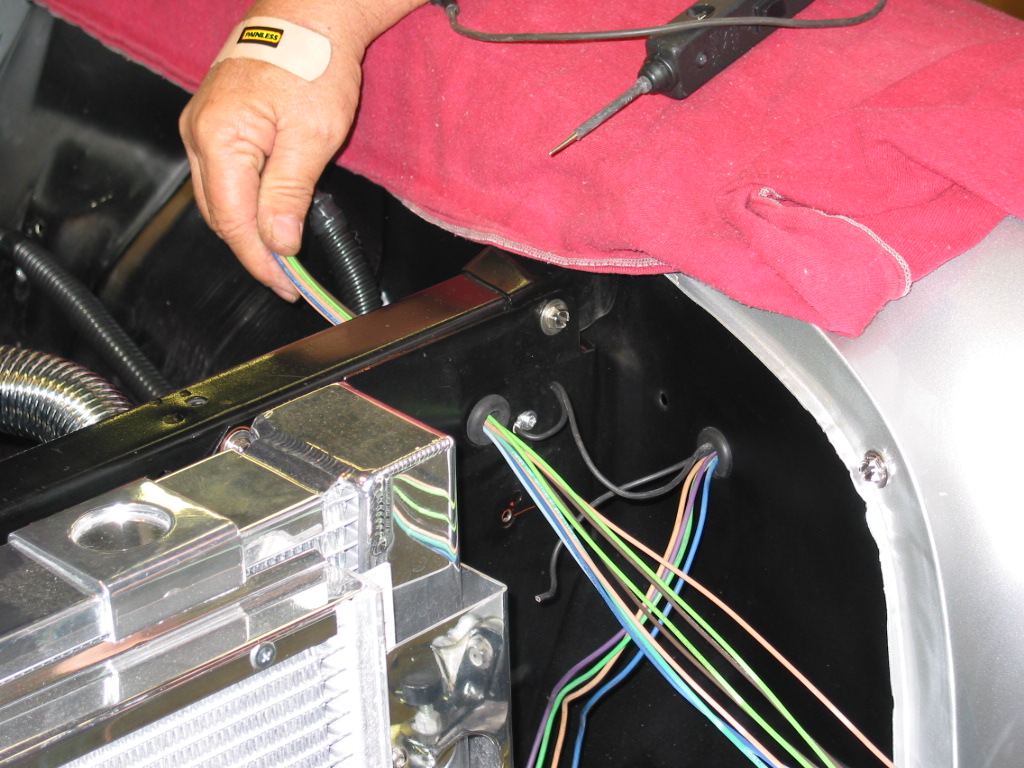
The wires for the front lights are routed through the grommet in the core support
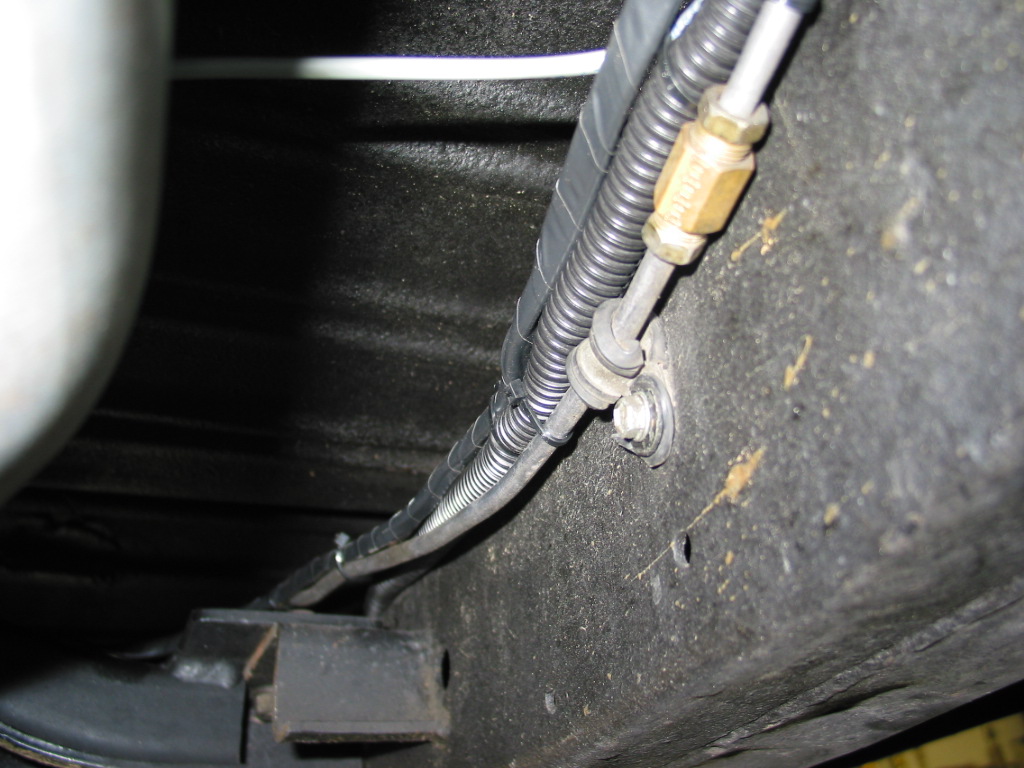
Since the interior was in the car, Jim decided to route the wires for the tail of the car out through the firewall grommet and down the frame. All the wires were loomed and attached to clips and lines where they won’t be damaged.
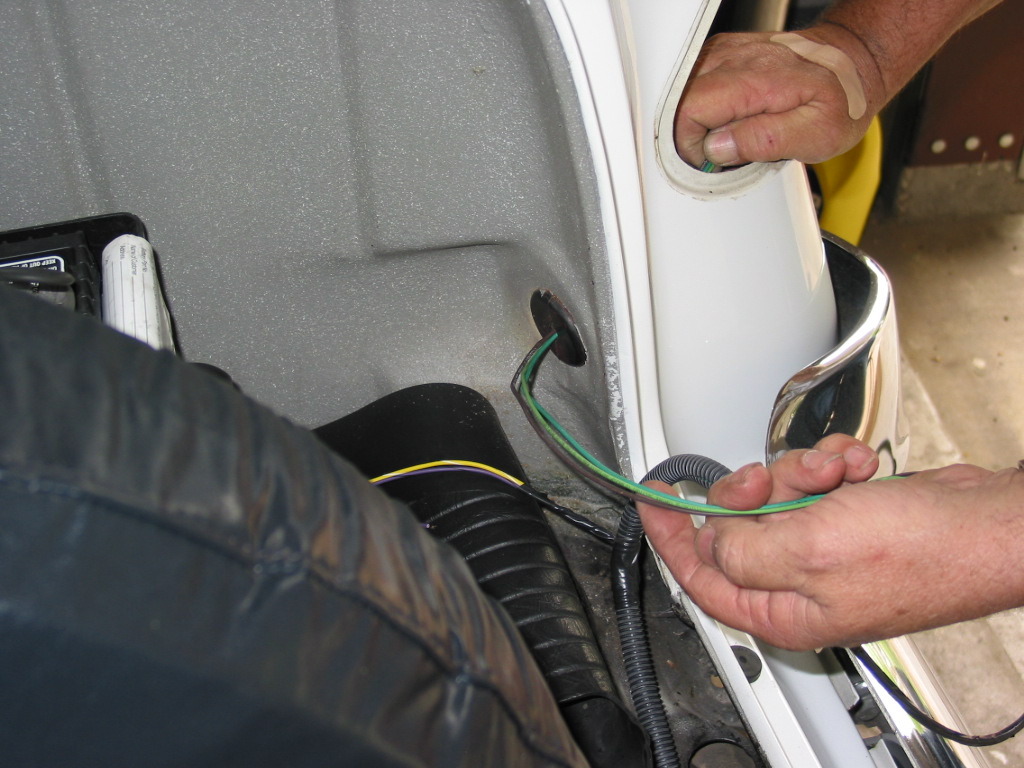
The tail light wires were routed through the grommet in the trunk along with the fuel tank wire.
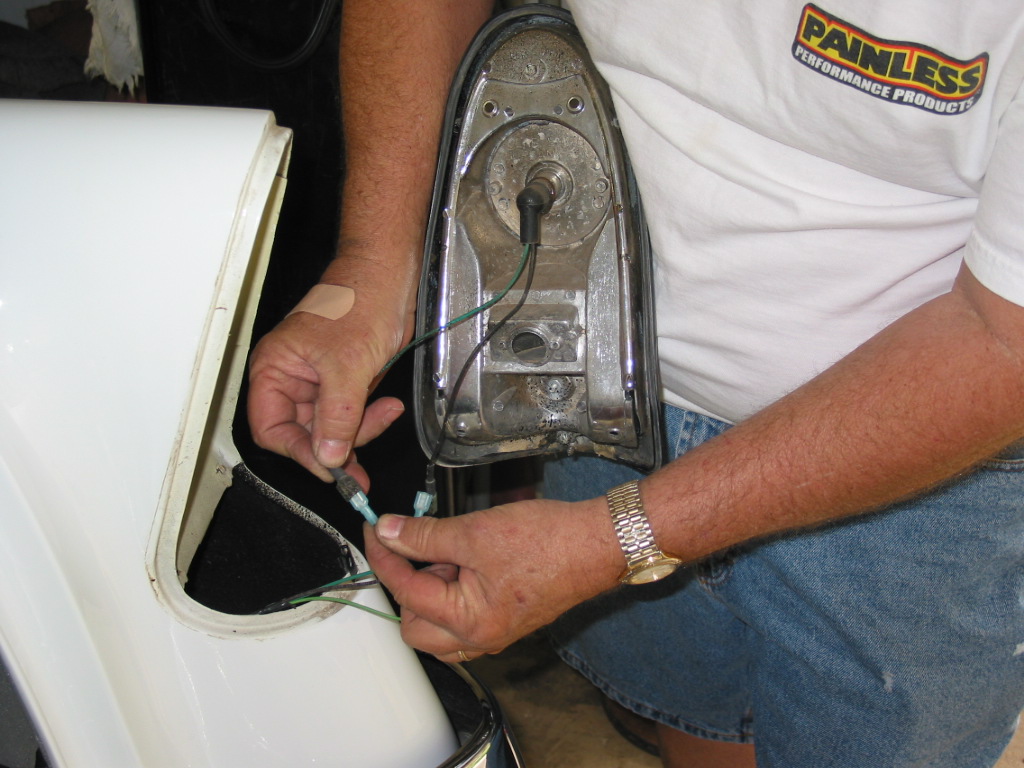
The original light sockets were retained and quick disconnect terminals were used to attach the new wires to the tail lights.




What size diode is between the two terminals to provide constant power to the coil that is shown in the picture?
Yes, what size diode please?