1956 Chevy Belair Painless Wiring Install How-To
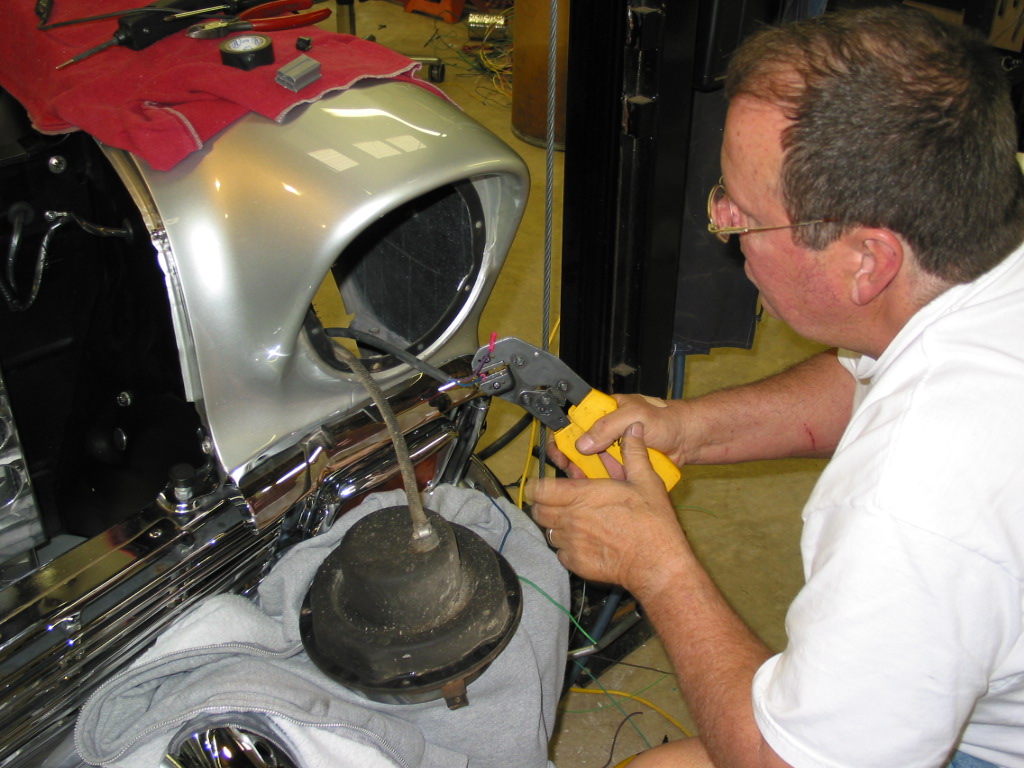
With the tail finished, Jim now routes the front light wires for the passenger side across the top of the core support and attaches them with clips.
Jim repeats the process on the head lights and park lights as he did on the tail lights.
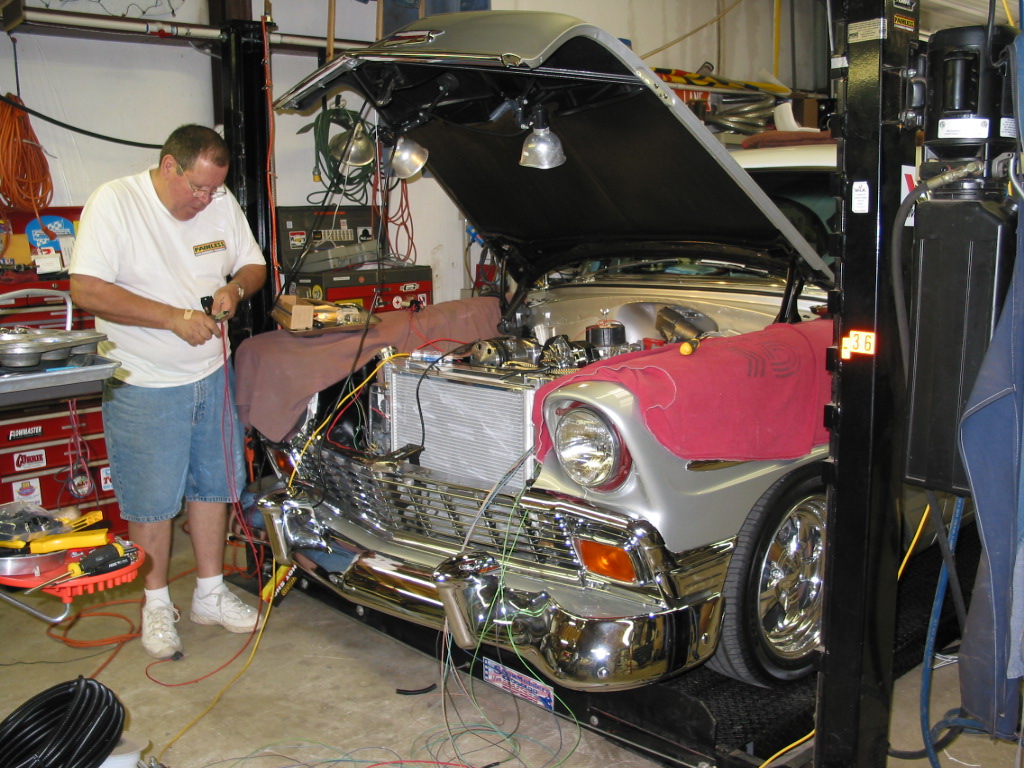
Now that all the lights are hooked up, it is time to start on the engine compartment wiring.
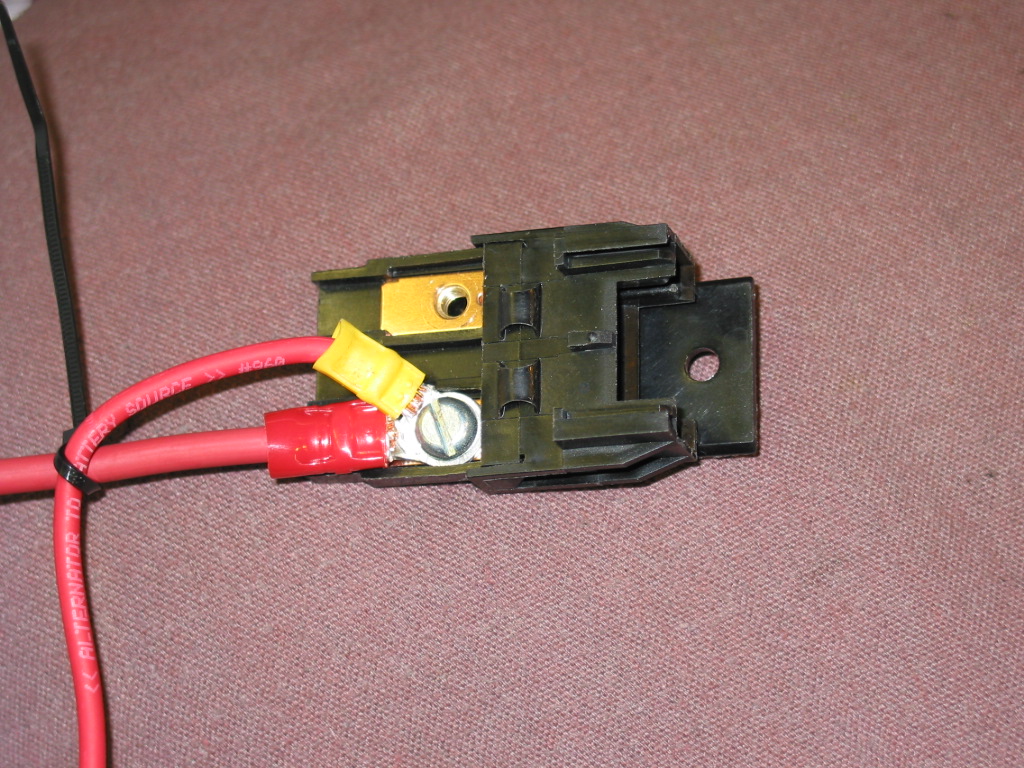
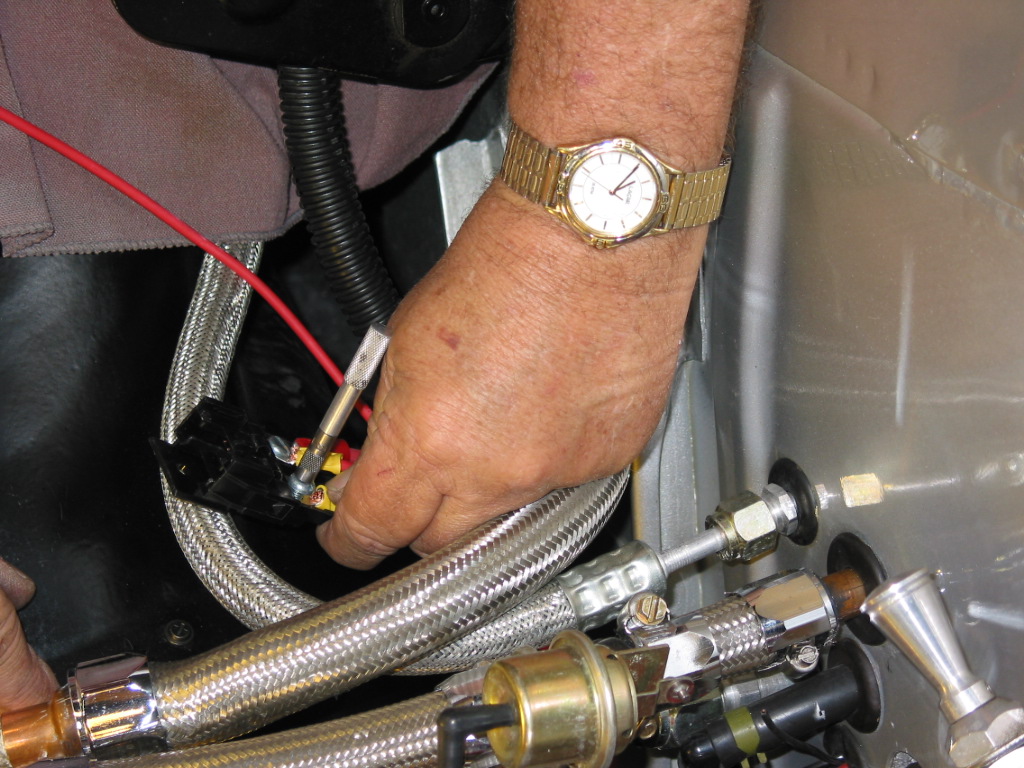
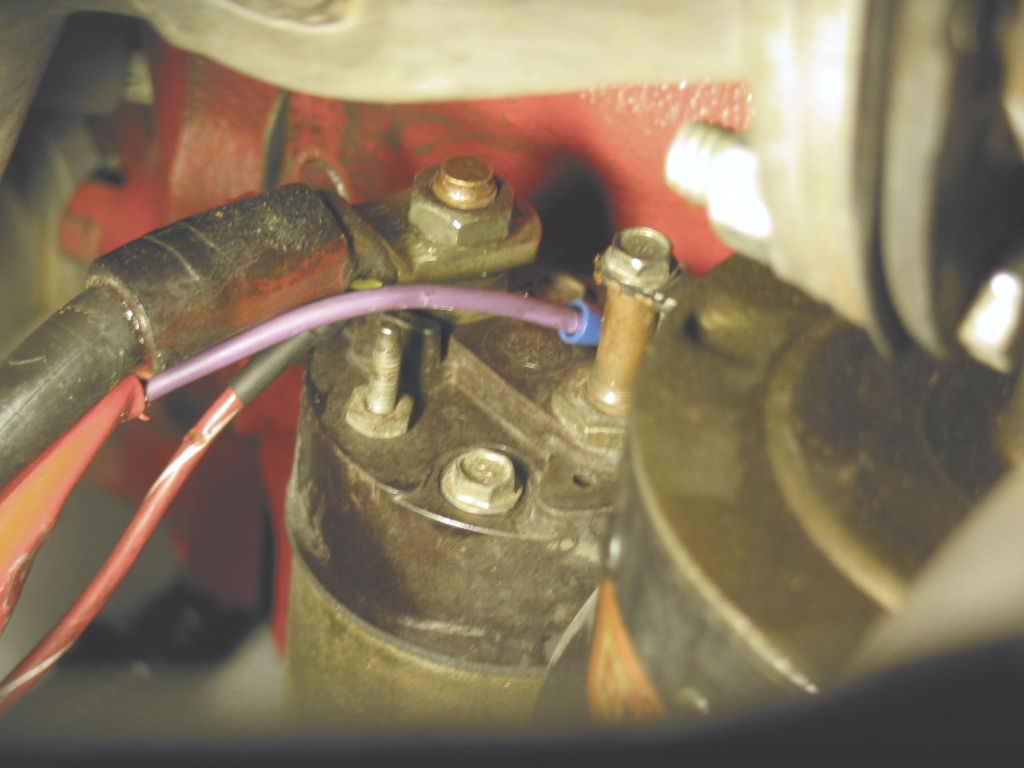
The Maxi Fuse, furnished in the Painless kit, is used to protect the overall electrical system in case of an accidental failure. The 2 wires pre attached are the power wire for the electric fan relay and the main input wire that attaches to the battery post of the starter solenoid. The fuse block input power wire will attach to the remaining terminal.
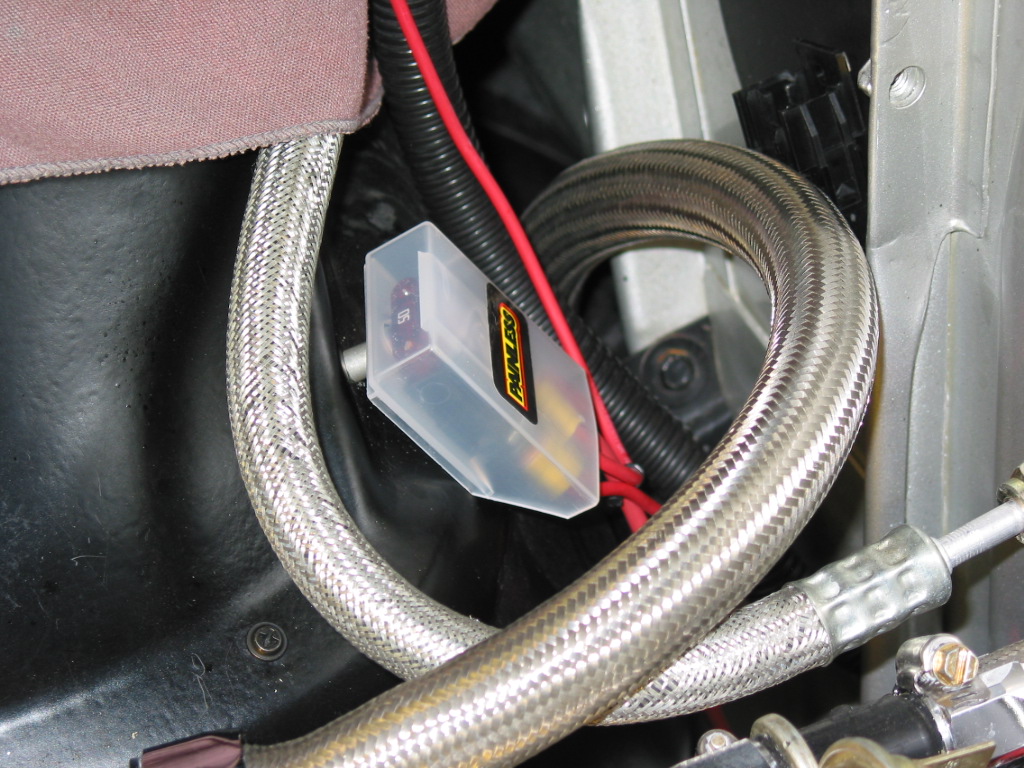
Jim attaches the maxi fuse holder to the inner fender panel. The location of the fuse should be where it can be serviced easily in case of a failure.
The maxi fuse is mounted and the protective cover is installed.
The starter wires are routed and before they are attached, Jim slid on some heat shield wrap to protect them from the block hugger headers.
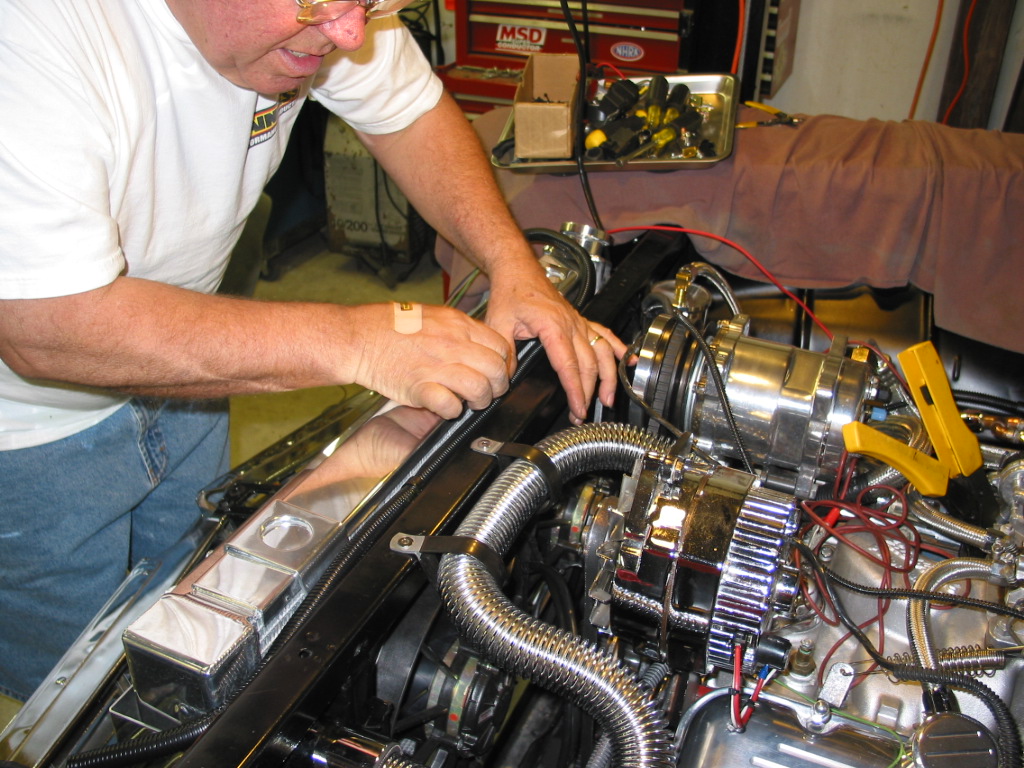
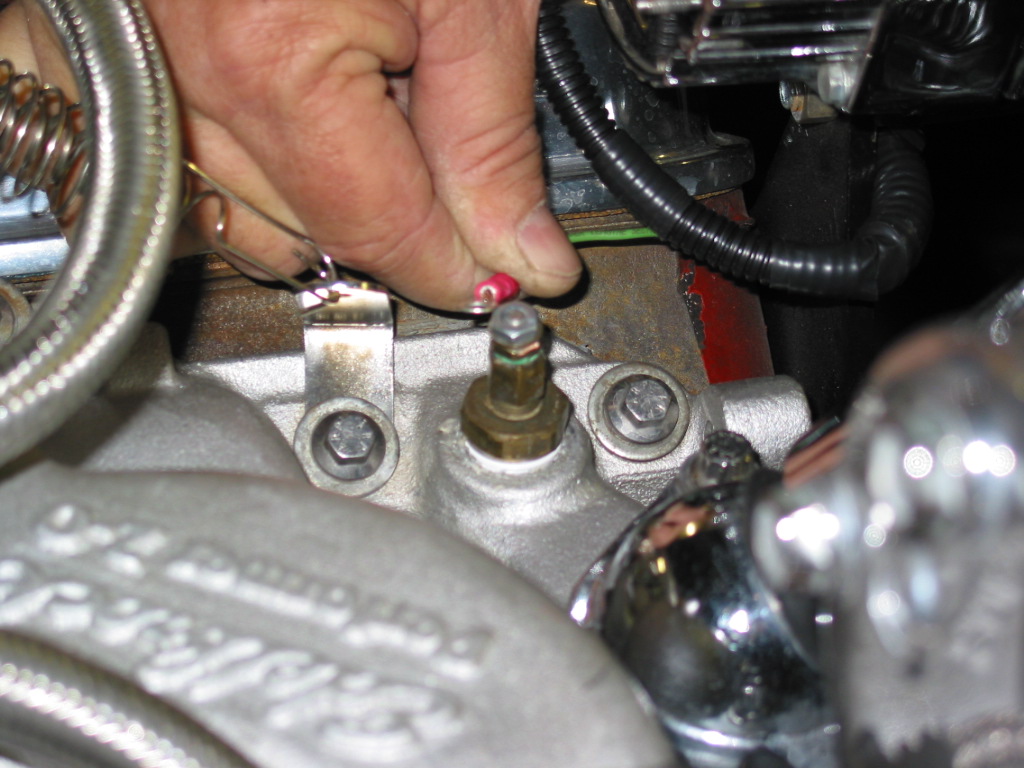
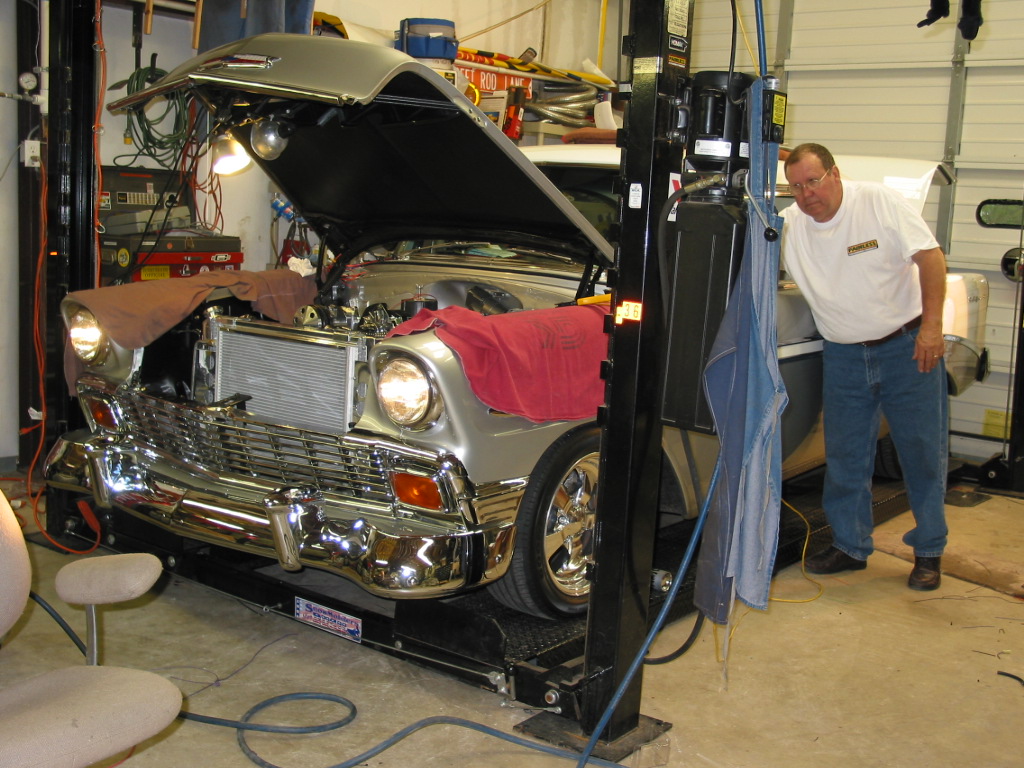
The items on the engine, such as the temperature sender, are the last things to be hooked up.
With all the systems hooked up it is now time to test the overall system. To do this safely, Jim attaches a jumper wire between the battery post and the cable. In this jumper is a 10 amp fuse. If any circuit has a fault the fuse will blow and then can be researched for the cause.
First Jim tries all the lights and everything is a go.
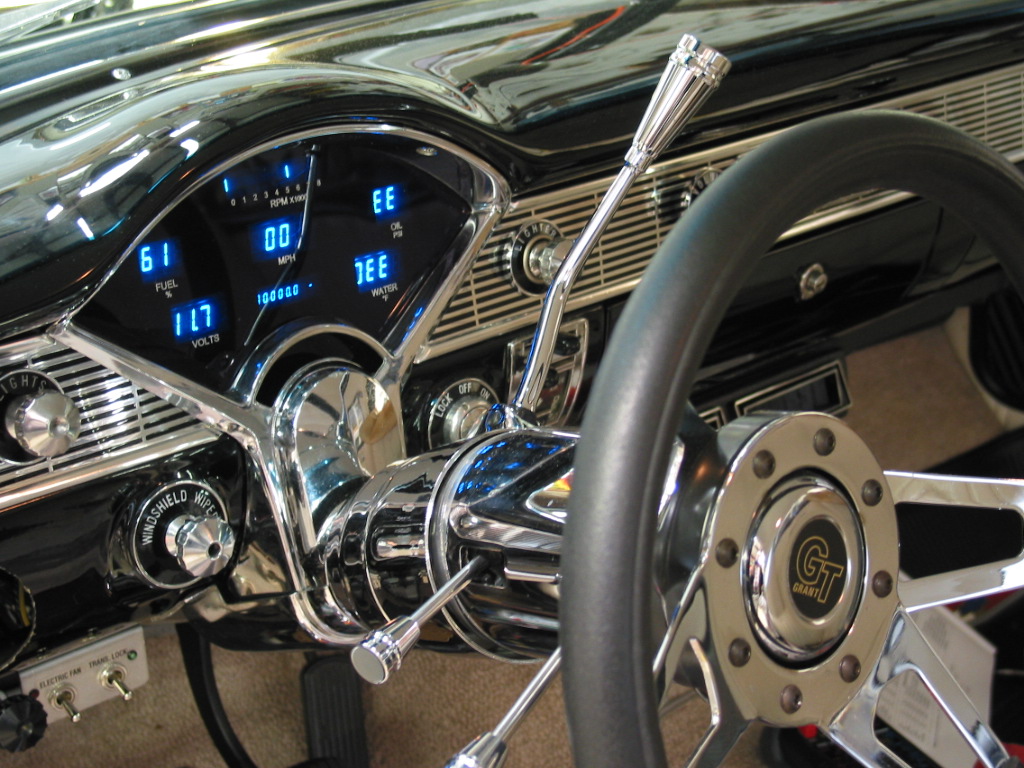
The last area to be checked is the dash. It is powered up and all is well. Another job well done.
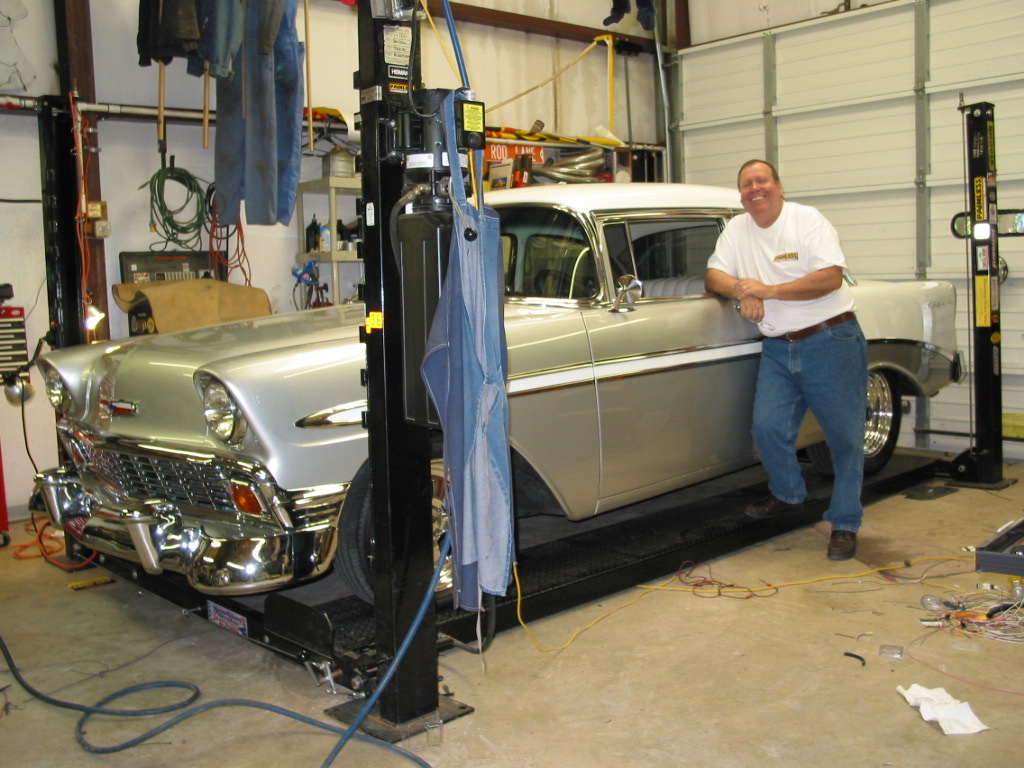
Jim stands beside the finished car supporting a big smile.
Car: 1956 Belair 2-door, 454, white over silver Owner: Roc Strickland – North Richland Hills, Texas Installation By: Jim Whittenburg Custom Auto Wiring 2015 Marigold Ft Worth, TX 76111 817-831-9603




What size diode is between the two terminals to provide constant power to the coil that is shown in the picture?
Yes, what size diode please?