6 Basic Steps to Drawing Hot Rods
Words and Drawings by Ryan Hadden
See more at thehaddenhotrodshop.blogspot.com
I am no Chip Foose, but I do like to draw cars. I have no formal education in drawing automobiles, but I did leave some killer renderings in the back of a few school books when I was younger! I hope that this quick tutorial will help you to do something a lot of guys / gals fear they cannot do.
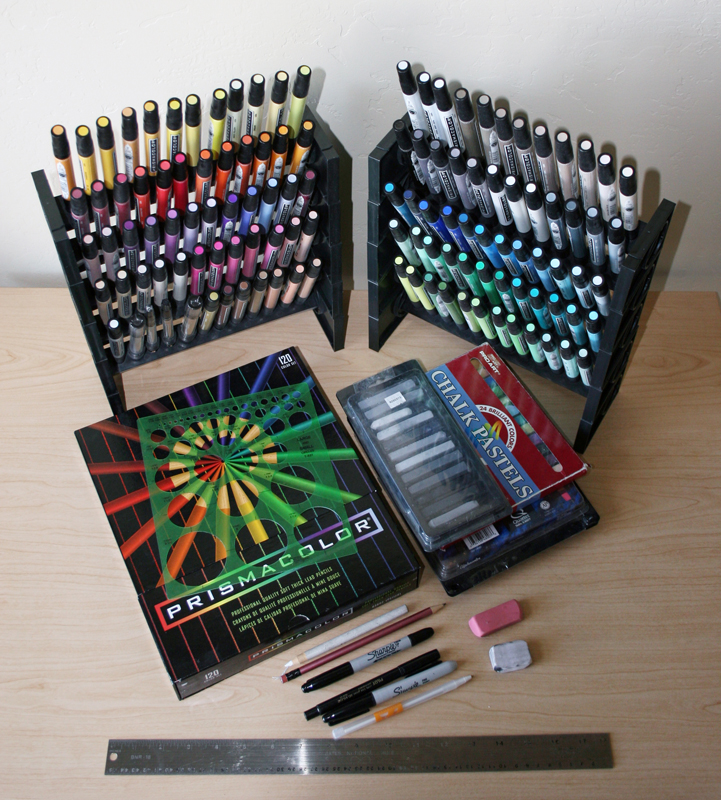
A few “tools of the trade”. This is a shot of some of the tools I have collected over the years while drawing. Included in this photo are markers, colored pencils, pastels, a metal ruler ( I prefer them over wood or plastic), ball point pens, and erasers. Art supplies are expensive. If you are just starting out don’t let a trip to the local hobby shop scare you. Honestly all you really need to begin drawing is no more than a pencil, paper, and a good drawing surface.
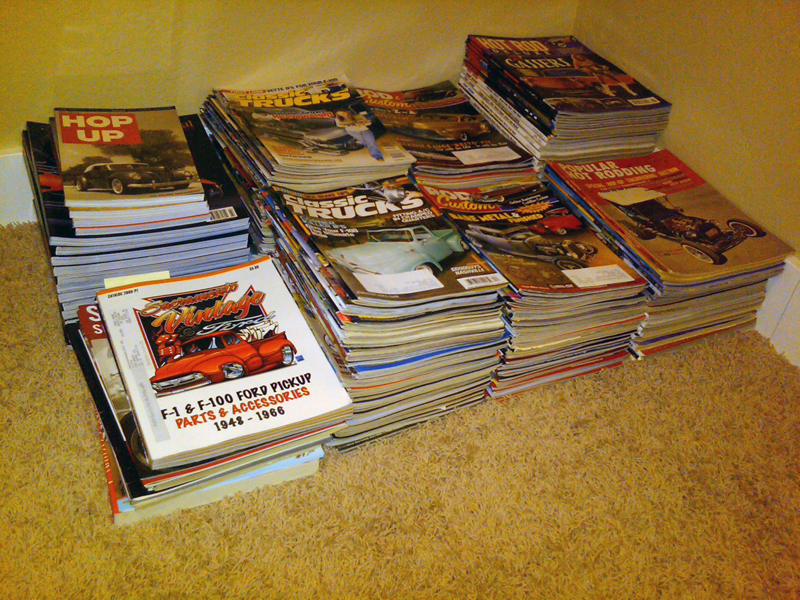
It is also helpful to have reference material. This can include magazines, books, posters, photographs, internet (including websites like myrideisme.com, haha, thanks for the plug Ryan!), or 1:1 subject matter (aka the real thing). Here is a small sampling of my printed reference material.
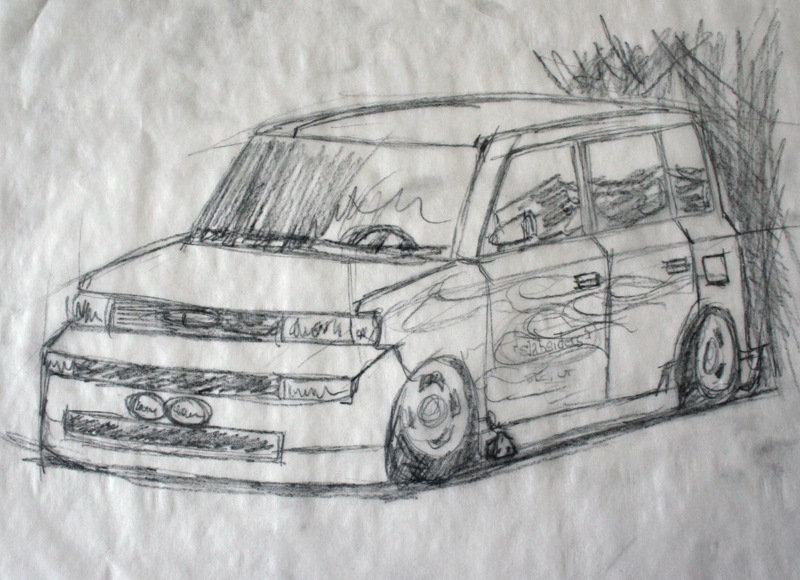
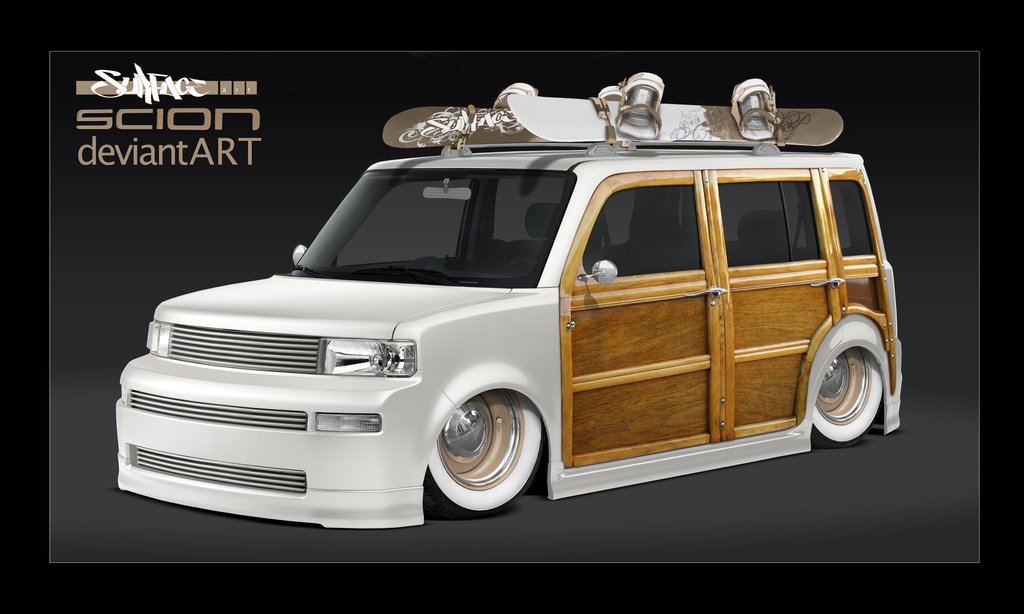
Step 1: Start off with a really loose sketch of your subject. Go wild and add-in anything you think you may want in the finished piece. Our subject in this short tutorial will be the Scion Chris Hecht (hechtspeed) has had bouncing around in his melon for several months now. Our goal will be to get his ideas down on paper before he shells out the bones on completing the car.
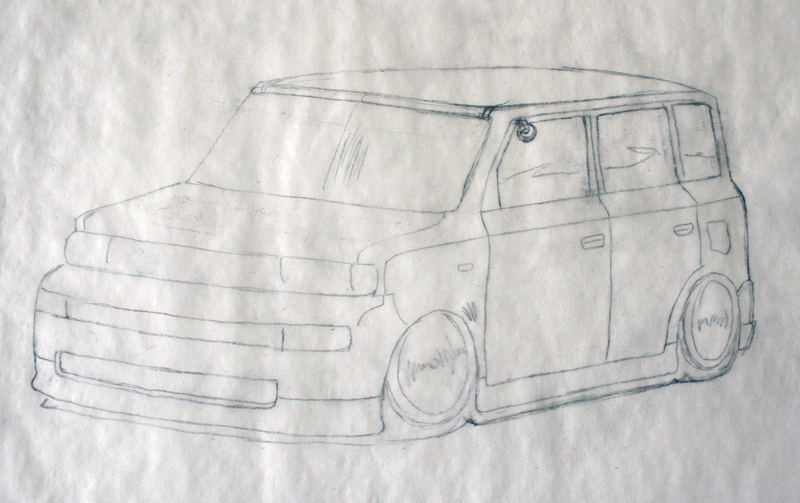
Step 2: After I have all the ideas thrown out I like to come back and use the previous sketch to make a tightened up line drawing that will be the basis of the finished piece. As you can see we have narrowed down where the final rendering is headed.
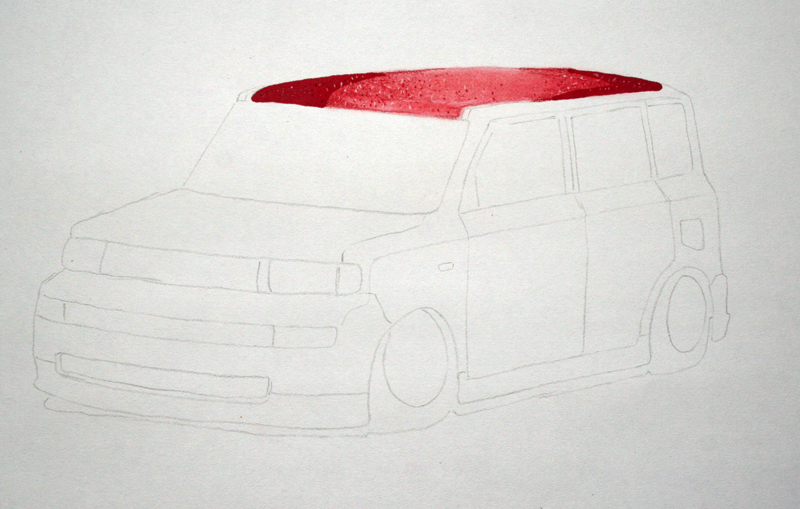
Step 3: I’m going to start this sketch with the roof. Chris wanted a white Scion with a red metal flake roof ( a first time task for me). I blocked in the darkest areas with marker and then faded into the center with pastel and pencil.
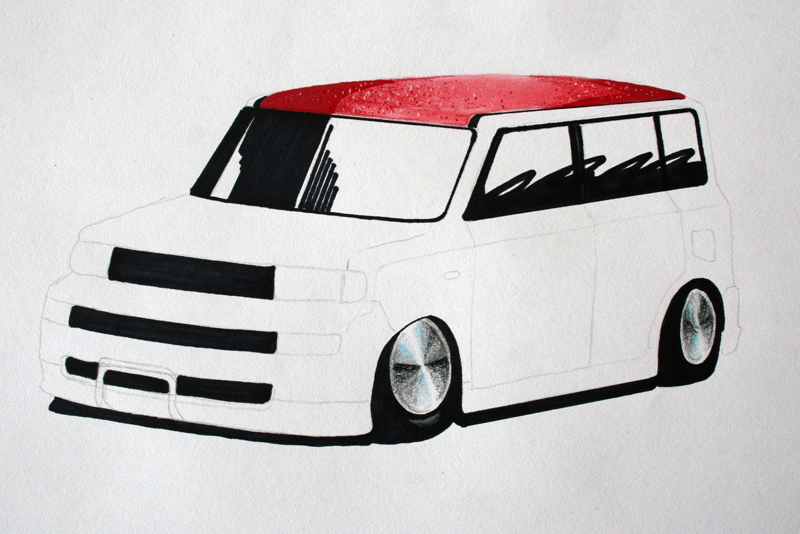
Step 4: I am now going to block in the darks (tires, shadows, and reflections) with a black marker. I have also added in the Moon discs at this point.
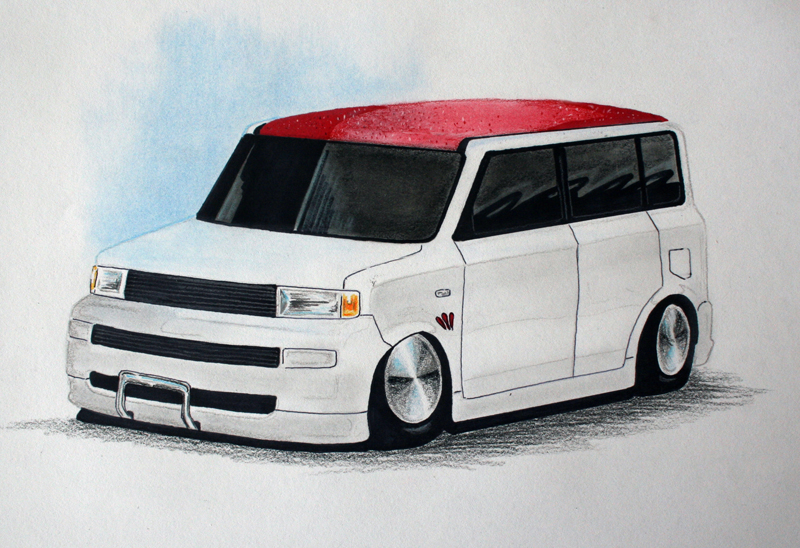
Step 5: Now I have started to add a little more detail. I have started to bring in headlights, shadows on the body, more definition to the shadows and highlights in the windows, and some foreground. This was all done in pencils and pastels.
Step 6: Added the last of our details and sign the work. Note: The door art and door handles were actually added after Chris saw the previous version of the drawing. Door handles since he is a family man and the door art well… just ’cause he digs it! And that is why a concept drawing is a useful tool in any build. It allows you to see an idea before you commit to it only to later find out it just doesn’t work for you.
This is a very simplified tutorial, but it gives you the basics to start your own concept work for yours or your buddies next build.
Dig other blogs about Ryan and his hot rod sketches
5 Steps For Painting Vintage Hot Rod Door Art


Nice work!