Falcon Wagon Paint – This Time with Flat Clear
Flat Paint Job for my Ford Falcon Wagon
Finally. I don’t think I could have taken a longer path to get there, but at least it’s done. My Falcon’s wearing new paint and the flat sheen or “hot rod flat” I was going for came out great. Special thanks to T.C. at FinishMaster in Mesa, AZ for help with the paint and advice to make this happen. I also took advantage of advice from Kevin Tetz from “Trucks” TV show. Kevin helped me with 11 Tips for a Flat Paint Job and sorta held my hand on this project.
It’s a long story how I got here, you can read it all at this link: Falcon Wagon Build. It started with bodywork lessons and primer from Squeeg’s Kustoms then a paint job gone wrong. Back on track, here’s how my buddy Joel and I laid on this flat gold paint. I think it came out great!
Before Paint Prep:
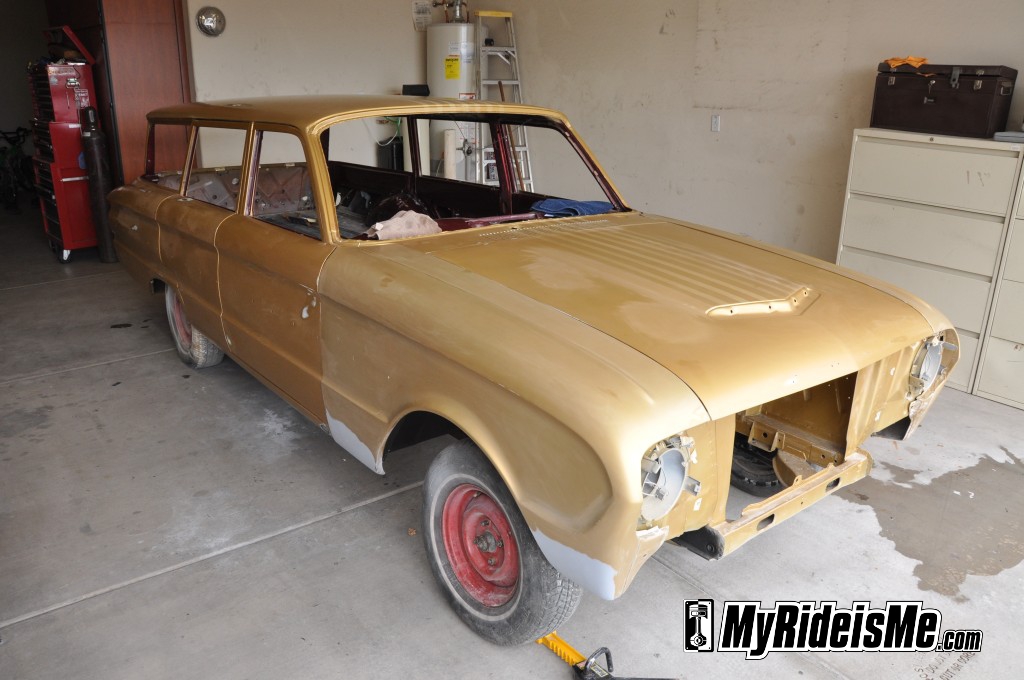
You can see here what my wagon looked like right before we started on Saturday morning. Over Labor Day, my sons and I scuffed the clearcoat with 400 grit and/or scotch-brite so the new paint would stick and Joel did a little dent repair on the lower part of the fender. See it? You might also note that the fenders are a different color than the rest of the car. That’s why I’m repainting it! With this color, it’s next to impossible to match it.
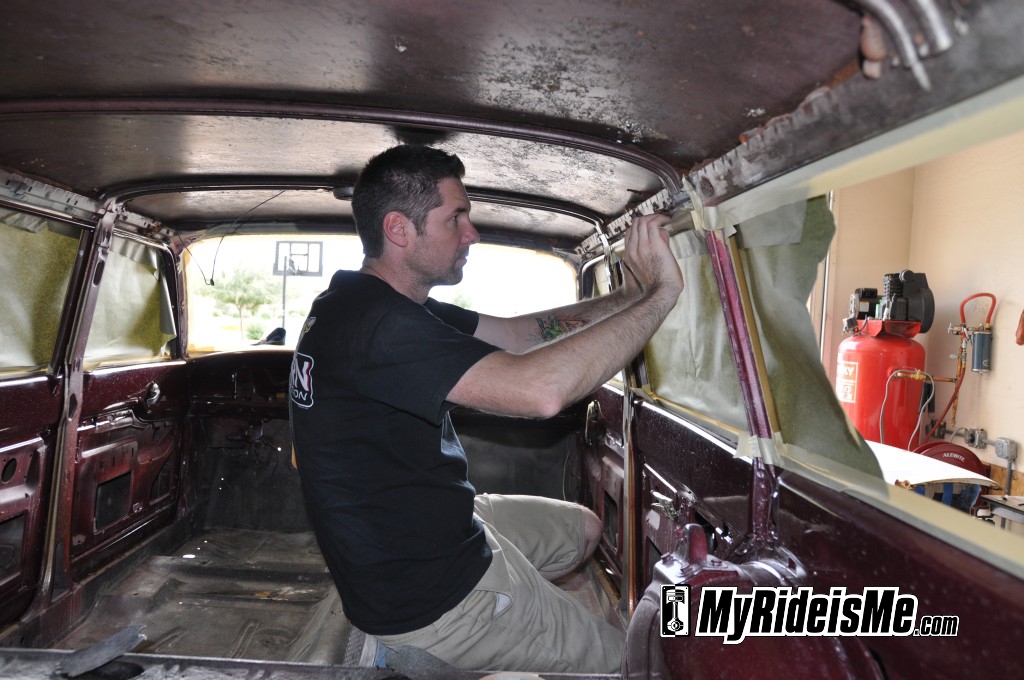
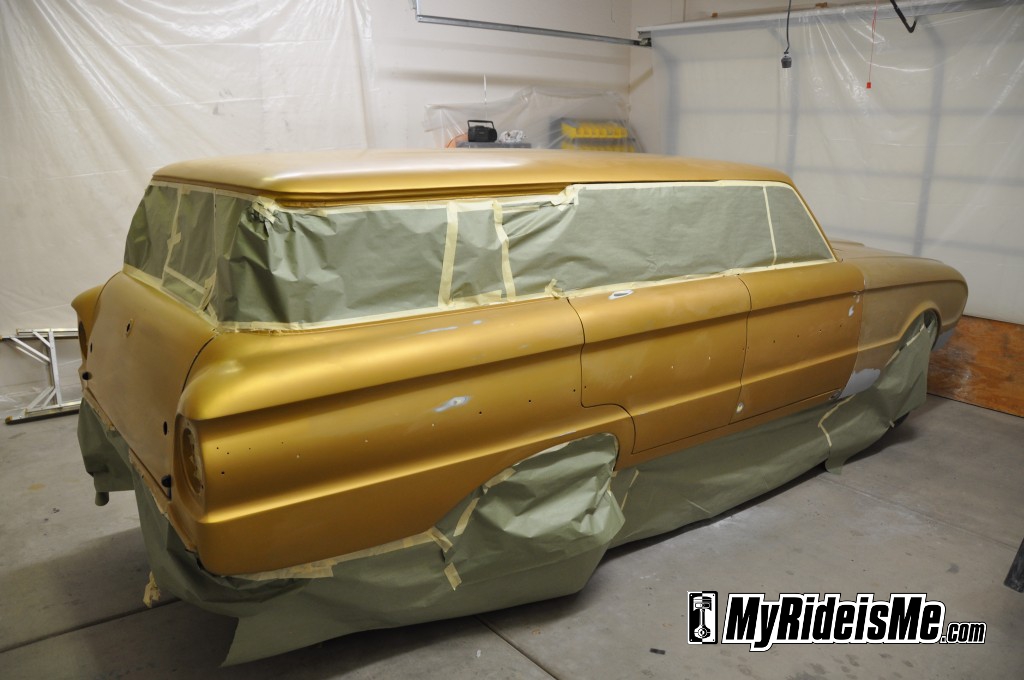
Next came the tedious job or masking the car. Joel crawled up and over the partly-masked tailgate and taped up all the door seams. The interior paint, so far, is salvageable, and we’re not painting around the windows and in the engine compartment. The window area will be covered by trim and the engine compartment may end up black or we’ll leave it. Turns out the new paint matches the original better than the fender repaint did!
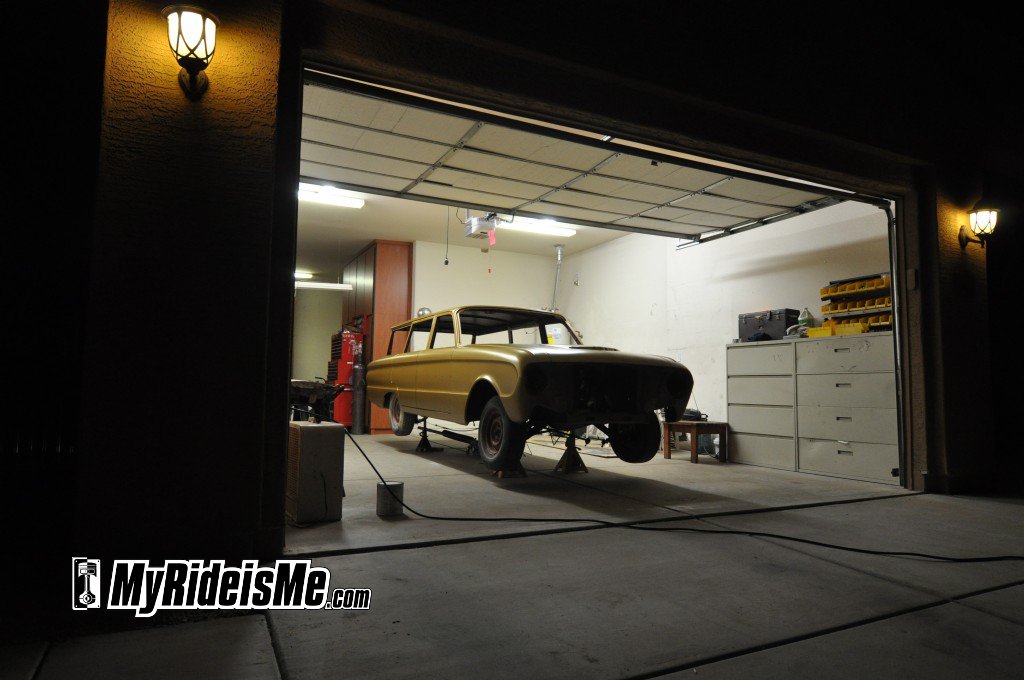
Here’s the final shot of the car before paint. Note the garage prep work. I didn’t cover the floor, but we wet it down between coats. Almost every wall was completely covered in visqueen and we had to crawl on the floor to get in the house for drinks and fresh air. I had a big fan with a too-ugly-to-photograph cardboard setup that held two filters for the incoming air. I had positive air pressure, or put another way, more air coming in than exhausting out through the two floor fans just out of sight. Let’s paint!
Basecoat, Basecoat Pearl then Flat Clear:
This is the primer sealer coat. This is also where we discovered that the SATA paint gun we were using wasn’t working right. If you read the Flat Paint Job tips one of the first thing Kevin Tetz said was to do a “sprayout” to test the paint and the process. Well, we didn’t. We flat ran out of time on Saturday so now it was Sunday and we both had to work Monday. We just went for it!
If we had tested the gun, we would have found air bubbles blowing up into the paint cup. Joel knew this was wrong, so a quick search on Google told us SATA guns need the paint nozzle to be very tight. Since we’d borrowed the gun, he was afraid to crank down on the nozzle, but then did. Problem solved, but not before blowing some pimer-boogers out onto the car. The air bubbles in the cup caused the paint to cure way too quickly. It was like mud cleaning the paint gun. OOPS!
Finally…. Color!
Not sure if this is the first or third coat of paint. (fumes were heavy that day my friends!) One thing I am sure of… I picked a killer color! After staring at the color book for way too long (like I do at a candy vending machine) I finally picked this color as the store was closing. I had a picture of champagne in a glass I was referencing and before the pearl, champagne is about the color seen here.
The three color basecoats were laid out in long lines: (picture Joel fast walking down the side of the car) first on the roof, then one side, then the hood, the other side, then the back. the first coat looked sorta splotchy, but Joel warned me about that. With the next coats, she laid down sweet and looked great in my newly installed lights.
Pearl: The Second Basecoat
Next was the pearl coat. I’ll have to hit up T.C. from FinishMaster for the exact specs on the gold pearl. Got it! The pearl I used was the 1021s sunbeam gold pearl.
The pearl and the flat clear were the only two things I changed from the original paint job. The color and materials were all the same.
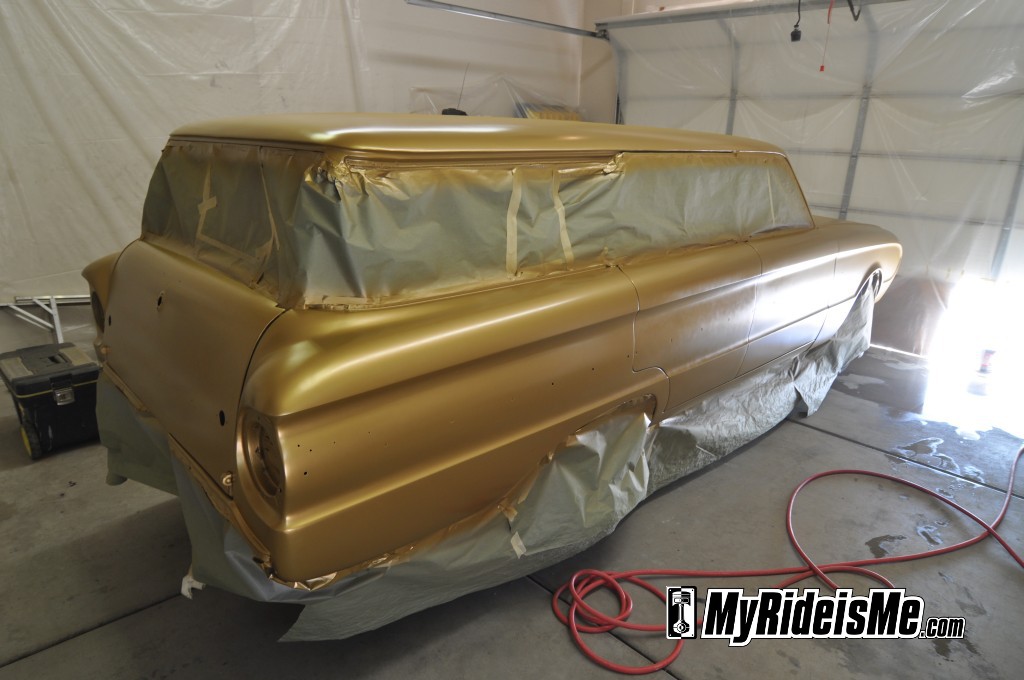
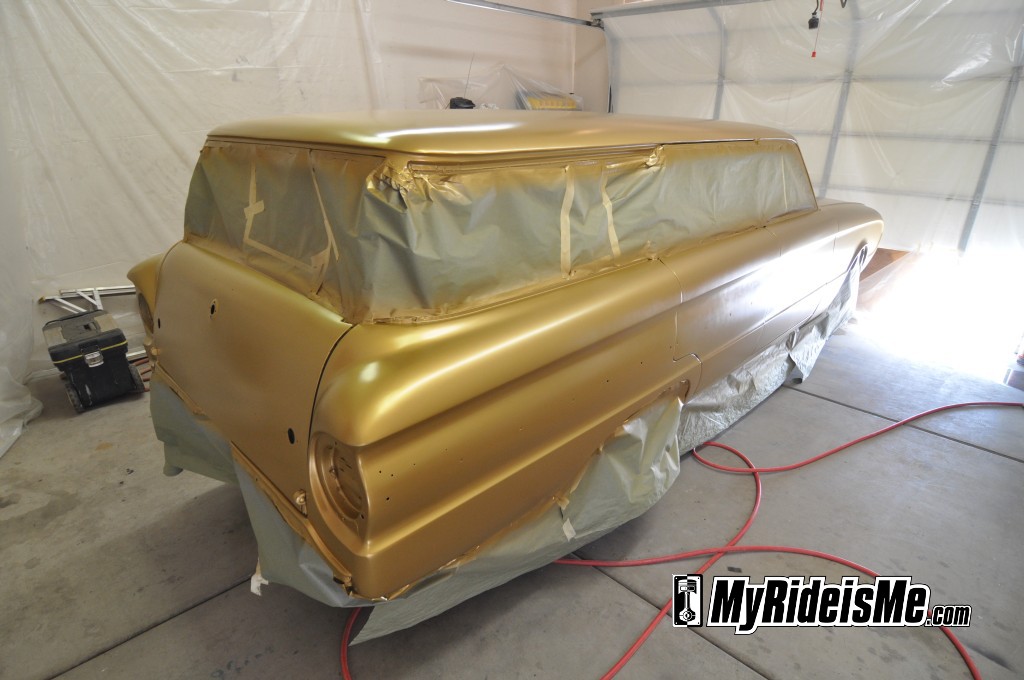
I learned though, that a pearl coat isn’t always in the clearcoat. I knew a pearl paint job was a “tri-coat” paint job, but I always thought it was two steps of clearcoat, one with pearl and the last without so the pearl “floats” above the paint. I’m sure that’s how it was done originally (to save money), but we followed FinishMaster’s advice and used a Chroma Color basemaker with a trick, Japanese made pearl T.C. was stoked on. It looked… creamy… in the can, but in the sun, it sparkled. You can see in the pictures above that the shine has changed. It’s hard to describe though… it went from a shine to a glow that became more subdued and slick when we laid down the flat clear.
We planned to lay down the pearl in two or three coats, depending on how it looked. (Again, another great endorsement for the test sprayouts) Turns out, we didn’t have to choose. We had just enough pearl to put two coats all over the car and a third on the roof, hood and all the curved parts of the car. (it gave my garage floor a nice sparkle too)
Flat Clear – How Flat is Flat Enough?
I’m skipping a few pictures here down to the finished, unmasked car. I could show what the car looked like after one, two or three coats of flattened clear, but you couldn’t tell the difference. I will explain what we used and how we mixed it:
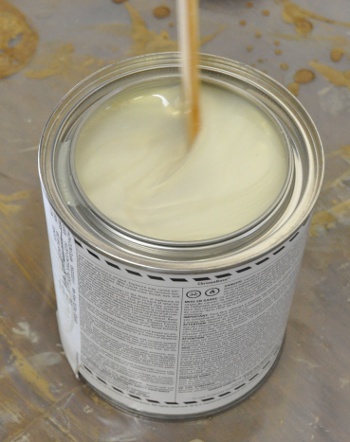
The clear was Nason brand (DuPont’s economy brand) 465-00 High Image Urethane HS Clearcoat mixed with DuPont Plas-Stick 2360S Flexible Matting Additive. Those two were mixed with activator and reducer to make the finished, sprayable flat clear. The tech sheet had mixing instructions for three levels of flatness: Flat (0-5% gloss); Eggshell (20-30% gloss) and Semi-Gloss (50-60% gloss).
The first coat of flat clear was mixed up, by weight on my wife’s digital bread making scale (haha!), for eggshell. Eggshell was the plan all along… not totally flat, but somewhere right in the middle. Course that changed!
With the first coat of flattened clear down, we kicked back and watched it cure for about 30 minutes. The clearcaot had a different stink to it than the paint and made the floor sticky… and didn’t get “dry” to the touch as fast as everything else did. After waiting, we could tell the eggshell flatness was too shiny. The way we reasoned, it’d be better to have it too flat then almost shiny. “Almost glossy” would be like we tried to get shiny paint but failed.
Fearing the 0-5% flat clear would be too flat, I fell back on too much math in college and found middle ground between flat and eggshell. Eggshell was 24% clearcoat and the “flat” was only 14.5% clearcoat. I mixed up a custom batch at 18% clearcoat with the matte clear (the matting additive), reducer and activator mixed at the same proportional ratio as they were: 20% reducer and 20% activator meant the matte clear was now 42% of the mix. 18+20+20+42 = 100% (ya with me?)
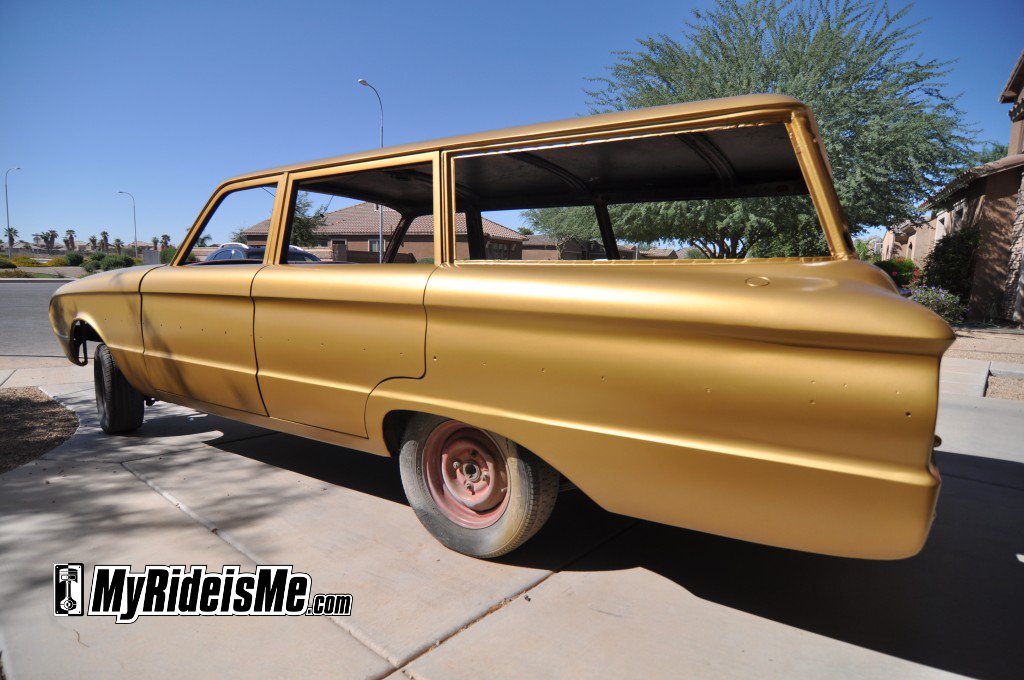
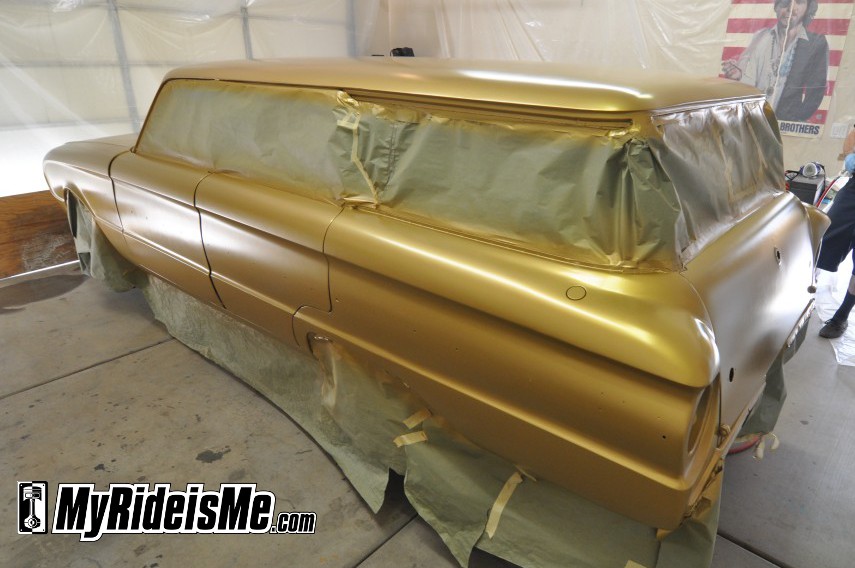
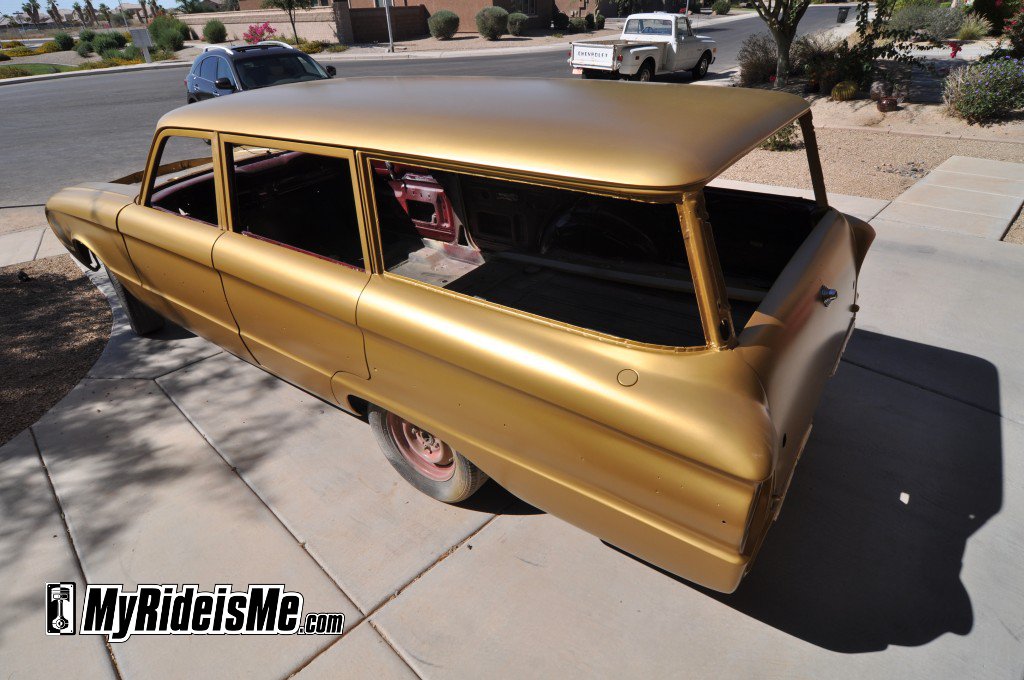
The final result is what you see here when I pushed her out into the morning sun for the first time:
I love it! You can tell we went for a hot rod flat look and the gold pearl just GLOWS in the low sun. I’ll push it out into the setting sunlight next to see how the golden light reflects off the gold pearl.
Every story I’ve written about this build can be found here: 1963 Ford Falcon Wagon Build
You like the flat paint? Let me know what you think.
Thanks again to my buddies at FinishMaster!






It looks fantastic!!! Excellent choice.
Nice! You have way more patience than I.
Its coming out nicely! I can’t wait to see it finished
Hurraaaayyyyy! Nice work!
Thanks for the call the other day. Nice site! Looking forward to seeing your completed project. The flat clear is growing on me for my own ride.
Thanks Paul! Moderndriveline.com will be my choice for getting my T5 transmission hooked up. We’ll be in touch and I’ll send over pics of my Falcon wagon as I work on it.
I use that exact same mix almost every week when spraying the underside of hoods and engine bays on most Honda’s we get in our shop. It matches the factory gloss perfectly and on some other makes. It takes longer to dry and being in a collision shop my paint rep also told me if I’m in a hurry to just mix 1 part base(without solvent) to 1 part activated clear mixed together to get the same gloss as well but doesn’t hold up to UV protection, it dries extremely fast.
Car turned out really nice.
Excellent job, way better than the butchers who had it all that time. I love these first gen Falcons and had a $200 63 Futura for a while when I still lived in Massachusetts. Bad, dangerous structural rust so I sold it for parts a few moths later.
Something about the Comet wagons, colour is beautiful. hope to see more updates on the build. Cheers!!
You should post your custom paint expertise on Craigslist ;)
That is one ugly car. I have seen it in person, and it looks like his dad did the body work. Hi Craig………have a great day
Thanks Dennis. You’d know if I had you help cause it’d be some goofy shade of green with orange or purple accents!
hi i am rebulding a 1970 gto i rebult my hurst stock shifter i was missing a pin in the shaft that looks a mushroom to shift revarse and i was mitssing a washer behind the spring does the washer have grooves in it for the t clip?or is it just round like a regular washer ?
Hi Keith, I rebuilt this shifter a while ago, but I’m pretty sure the washer had a groove in it. I’m hoping the Hurst people are following these comments to chime in. I’ll send your question to them to see if they can answer. Hope the video helped.
Looks great, cant wait to see the finished product.
looks good i was going to go flat on my ranchero but chickened out ended up basecoat clearcoat…