11 Tips for Flat Paint Jobs with Flat Clear
Flat Clear Coat Spray Paint from Kevin Tetz of “Trucks”
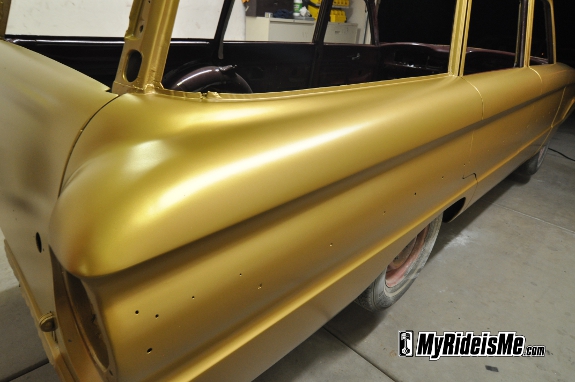
1963 Ford Falcon Wagon with a Flat Clear Coat Spray Paint Job. Every story I’ve written about this build can be found here: 1963 Ford Falcon Wagon Build
It’s painted! In case you’re just tuning in, I’ve been trying to put my 1963 Ford Falcon wagon back together for oh… 3 yeas now. It was supposed to be a quick-turn project that resulted in a cool daily driver. That didn’t happen. We did have a great Overhaulin-style tear down party that left me with a shell of a Falcon.
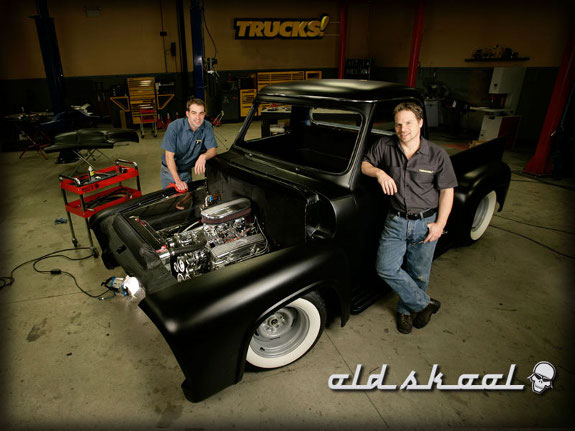
A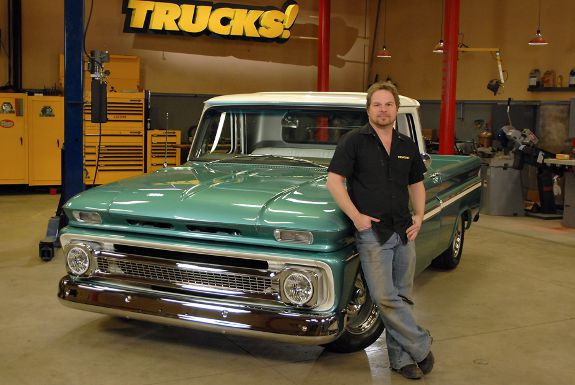 fter a total failure with my first paint job (a long boring story I won’t revisit) I had to repaint my wagon, but this time, I wanted a flat paint job using flat clear. There’s a bunch of forum-based info on painting with Hot Rod Flatz or using flat clear, but I wanted a trusted source with 30 years of painting experience. That’s where Kevin Tetz from the Power Block show “Trucks” comes in. I met Kevin at SEMA a few years ago, and just like you’d suspect, he’s a cool guy and willing to help like an old friend. I hit him up for some flat paint job tips and here they are:
11 Tips for Flat Paint Jobs with Flat Clear
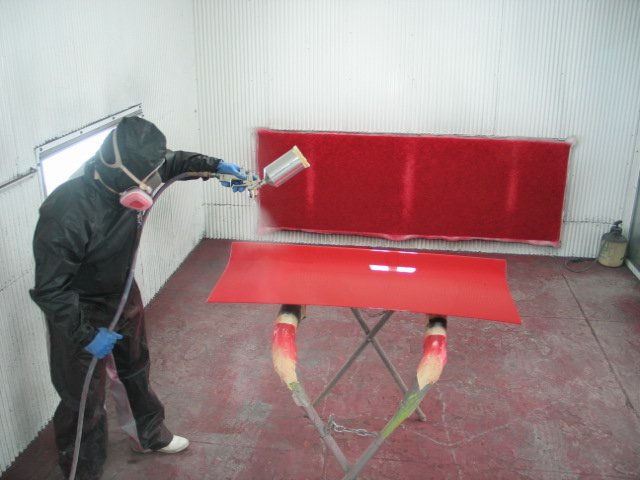
1. Spray-out test Panel. Before you commit paint to your project… find a scrap fender, take off panel, or some kind of test-piece to do what’s commonly known as a “spray-out panel” and literally mimic the paint job you’re wanting to do. This gives you an actual example of what you’re doing on a larger scale, but gives you the opportunity to test everything from gun setup, air compressor function, air flow in your spray environment, and in this case especially, the “flatness” or level of gloss on the hot rod clear, or “flat clear” as it’s known by all the cool kids.
2. Make sure you have enough compressor to do the job! Typically to sustain an all-over paint job you need a minimum of a 5HP pump, with at least a 60 gallon air tank to sustain the CFM (air volume) it takes to spray a car. If you’re shooting a bike or smaller parts, of course you can get by with a smaller setup, but match your gun to the compressor output and let that be the judge of what size compressor you need; most modern spray guns need at least 11 CFM.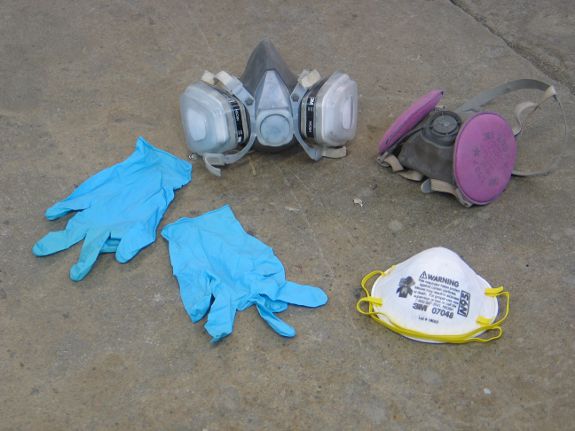
3. Protect your project from your shop! If you’re spraying in a home-shop environment (your garage) like most of us do, get some cheapo rolls of poly or drop cloths or visqueen from your paint store or hardware store and drape the walls, ceiling, and floors with it… this keeps dust away from your fresh paint, which acts like a magnet for dust and bugs.
4. Outsmart the insects! Typically, bugs are lazy, and the wee hours of the early morning give you a window of bug-free spraying… They start to come out in droves around 1:00 PM, and are attracted to the nectar-like scent of your fresh paint… If you have to time your spraying to where you prep one day, and shoot the next, it’s worth spreading it over a couple of days. Remember also that it takes between 30 and 45 minutes to give an all-over paint job a single coat… once you factor in flash times, mixing products, tacking wiping down, and all the things considered in paint prep. You could find yourself in bug hell before you know it! This can be a bigger problem with flat paint jobs since you cant sand and buff flat clear… you’re stuck with what you spray.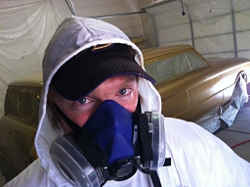
5. Save yourself from yourself! Don’t spray in shorts, a T-shirt and flip flops…. don’t be a dumbass! These chemicals are toxic dangerous and get absorbed through the skin and mucous membranes. If you’re a hardcore badass and I still haven’t sold you on safety and common sense, remember this… MOST of the trash that falls into a paint job comes from the painter. the more you can do to keep lint, dust, dandruff, hair, and other debris from falling into your paint, the cleaner your paint job will be. It’s just the facts… :) and again… you cant sand and buff flat clear… you’re stuck with what you spray.
6. Make sure you have enough air flow! this is critical to paint drying properly. Try to have “positive airflow” which is having more air coming in to your booth than going out. You can create this effect with adjustable fans, or just plain more fans at your air inlet than your exhaust. (yes, you should always have two sets of fans if possible…. you can baffle and ballance the flow once you’ve got your booth set up.)
7. Knock down dust. Use water to wet down the area in front of your inlet air filters…. this will help keep dust from being drawn into your spray environment and landing in your wet paint.
8. Positive Air Flow. If possible, draw or push MORE air into your paint area than the exhaust fans suck out. Air around the floor or ground is dirty… air a few feet higher up is cleaner… Details matter, and it’s the little things chained together that help control trash in a paint job.
9. Get “P-SHEETS” for every product you’re going to spray… if you can’t get them from the jobber store, get them online. They’re guides to everything from air pressure recommendations, temperature ranges, flash times, and compatibility charts. It’s not fun to read, but it’s less fun to re-spray your project, let alone less expensive to bone up on a little info before you commit to pulling the trigger.
10. Use the flat clear as an effect. What I mean by this is to complete your paint job with “regular” gloss clear and build your paint job up and bury it in the appropriate amount of clear, usually two to three coats with a high solids clear. Then, let it dry for at least a day, then sand it TOTALLY flat with 500 or 600 grit paper. This creates a very very flat and smooth surface to spray your flat clears on, and lets you focus ONLY ON THE FLAT CLEAR and spraying it perfectly.
Not to mention, the practice time you get spraying the regular clear will help create a spray strategy for getting around the vehicle better. This is a very common technique amongst the best custom painters; John Kosmoski calls them “flow coats”. This technique takes longer; better commit to more time sanding, totally re-masking your vehicle, and spending another weekend finishing it off… BUT it gives you total control over the outcome and the freedom to actually relax when you’re painting, rather than watching the clock and hoping to get underneath the bug-zone.
11. Use Different Grades of Reducers. When you’re spraying multiple layers of clearcoat, ESPECIALLY in a home shop situation, use different grades of reducer to help your clear dry and cure evenly. Faster reducer doesn’t mean a faster paint job…. use your temperature ratings on your paint system for what they’re meant to be, guides for air and project temperature. Always stay 10 degrees above the air temperature. For example, if it’s 70 degrees when you spray, use n 80 degree reducer. If it’s 90, use a 100 degree rating. This helps the clear flow out and reduces the risk of trapping solvents, which will interfere with even drying, which is CRITICAL for flat clears. Flat clears are prone to tiger-striping, just like metallics and once it dries it cant be corrected for any reason! Using a higher temp rating on your last coat of flat clear will help the products out-gas evenly in a controlled manner and will help ensure a smooth even sheen to your flat paint job.
If you’re wondering “how the pros do it” and get those amazing results that you’ve seen at car shows or magazine features, there is no secret. Pro painters like Charlie Hutton know that you have to respect the chemicals, follow the rules of the products and your equipment, and learn from your mistakes. Creating opportunities to MAKE mistakes on practice panels, or even to test out your setup gives you that experience without the heartbreak of messing up your paint job. I’ve always said that it’s cheaper to spend the time up front on sprayout panels and the extra money it’ll cost for the wasted products.
The more you can do to empower yourself and learn, the better chance you have of success in the booth. Paintucation Instructional DVDs give you a huge range of fundamental instruction on everything from rust repair to final sanding and buffing and everything in between. Log on to www.paintucation.com for DVD purchases, Free video tech tips, or our FREE online forum and message board.
Thanks for the help Kevin!
Got any questions or suggestions of your own, please let us know in a comment below. You don’t even have to be a member of MyRideisMe.com to chime in…






Soon i`ll paint a 33 ford 5-window. The owner has already committed to RM HD UNO single stage SM08. Its a single stage black with flattener already added. Ive painted a few test panels. Around 35 psi, spraying it wet like clear with as wide a pattern i can get with a SATA and as even overlap as possible. I love the way it looks and lays down except i cannot get away from the tiger striping and a bit of splotching. Ive spoke with several different painters with conflicting ideas. I sure wish i could get in contact with someone who has alot of experience with this and can tell me more. any help would be very appreciated.