Learning How-to Set A Gap In Spark Plugs
I’ve known for awhile that I needed to change the spark plugs in my Studebaker. But I’d heard things. Things like you could break the plug inside your motor if you did it wrong and to be sure to tighten the plugs to the correct tension. So although I knew they should be changed, I was scared to do it on my own, and my spark plugs in there were working…right???
As I’m learning, I’m seeing that spark plugs (although they don’t cost much and are small little things) are a major, MAJOR component of your engine. Without ’em, your engine wouldn’t run. Without ’em working at their best, your engine won’t run at its best.
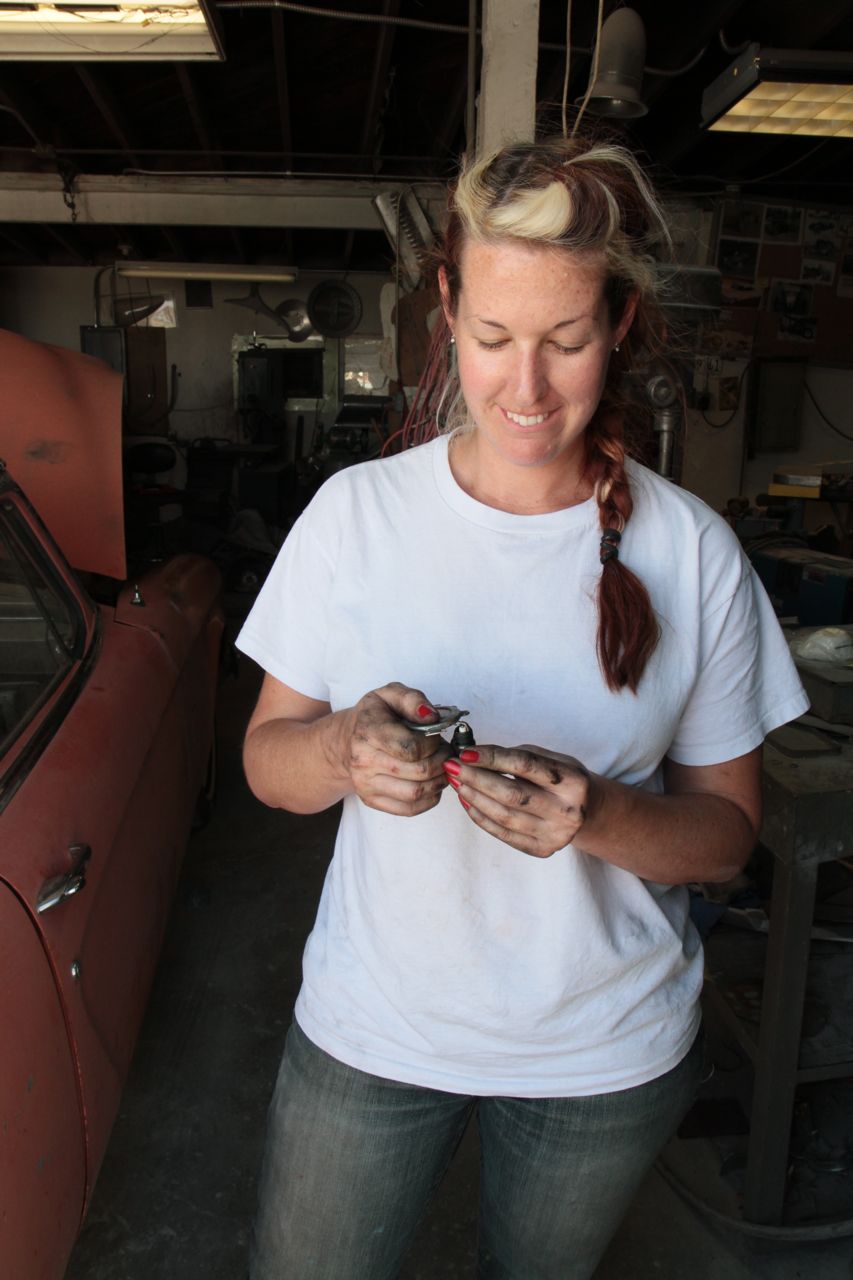
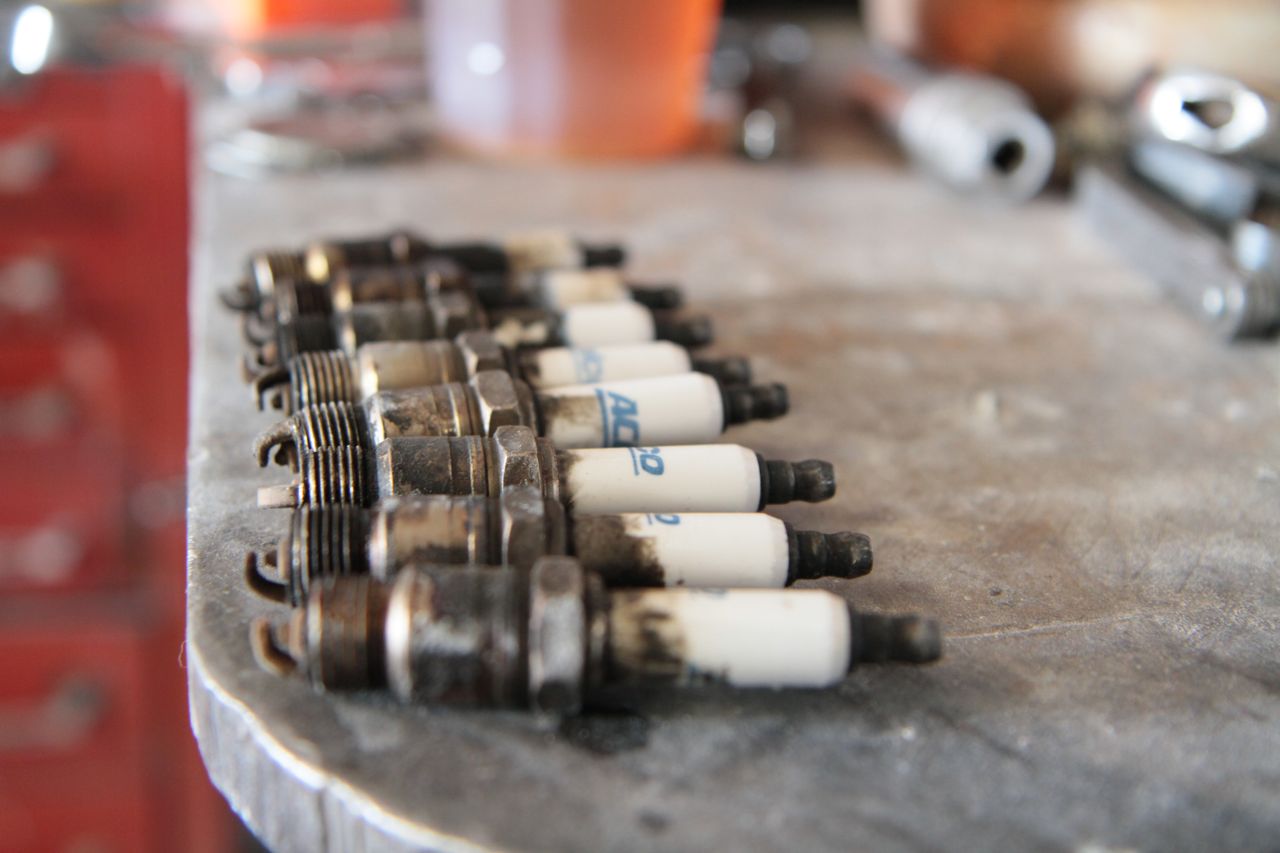
So as part of last weekend’s wrenching adventure up at Gene Winfield’s in Mojave, I changed my spark plugs…for the very first time! Gasp! The fellow at the local parts store recommended Autolite over ACDelco plugs which I had been running (What do you think? Leave a comment below!) I was surprised, and a little confused, when he informed me the gap for my application was .052. What?!?
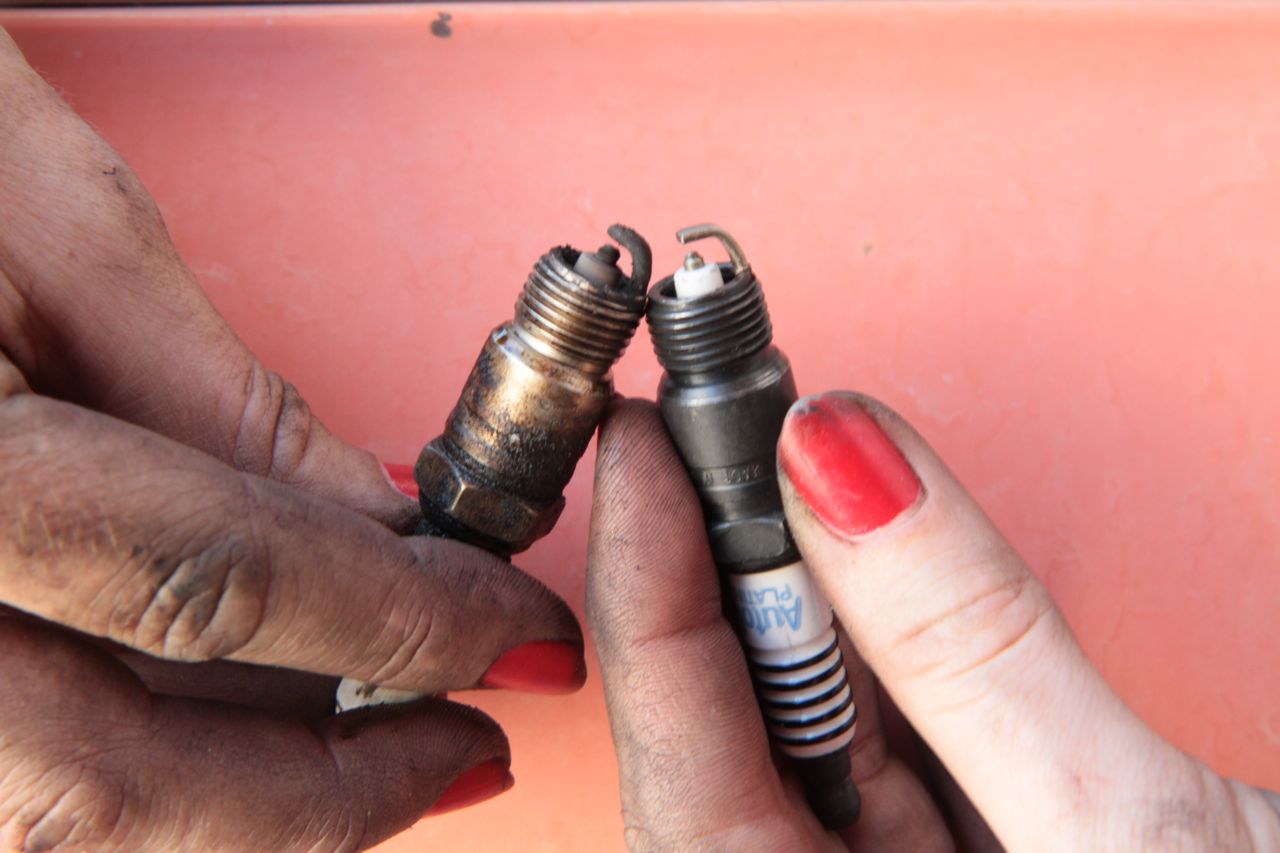
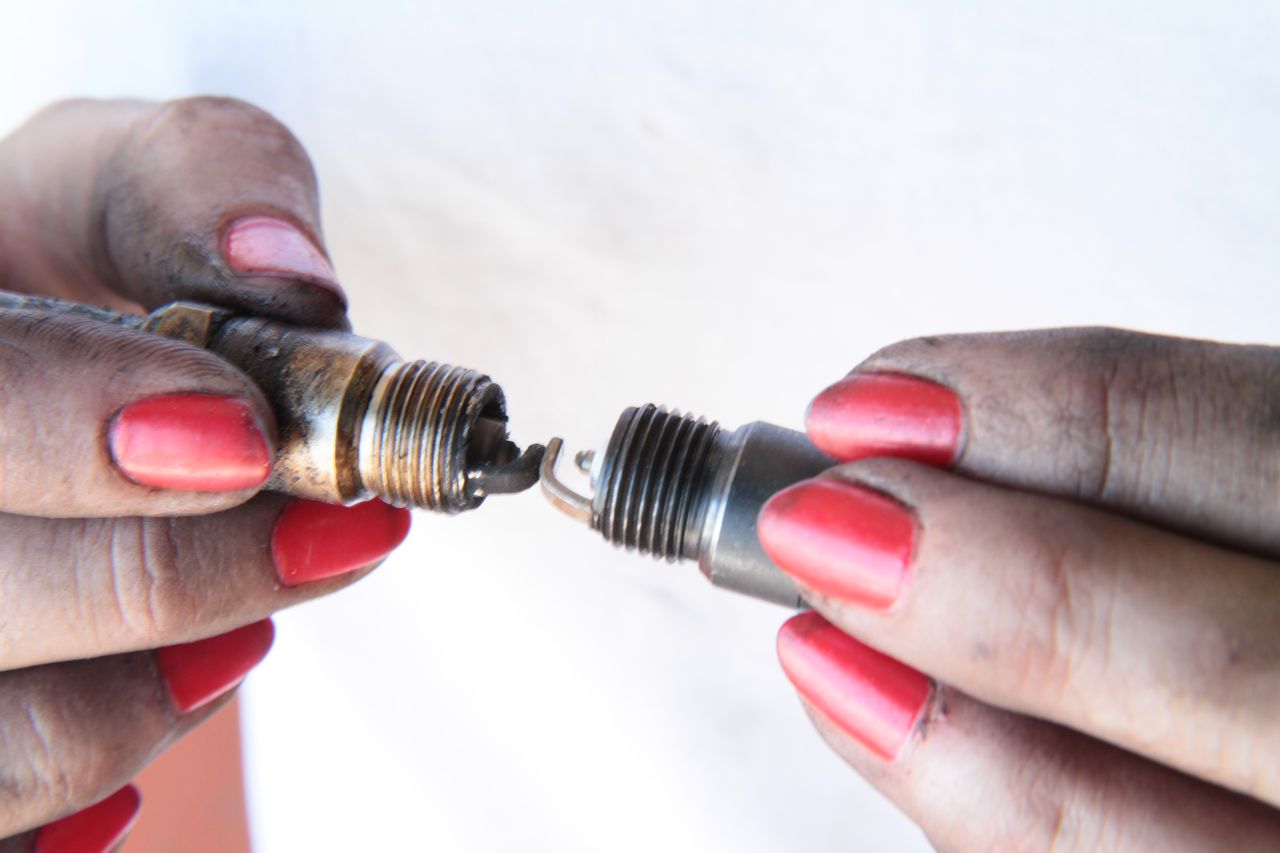
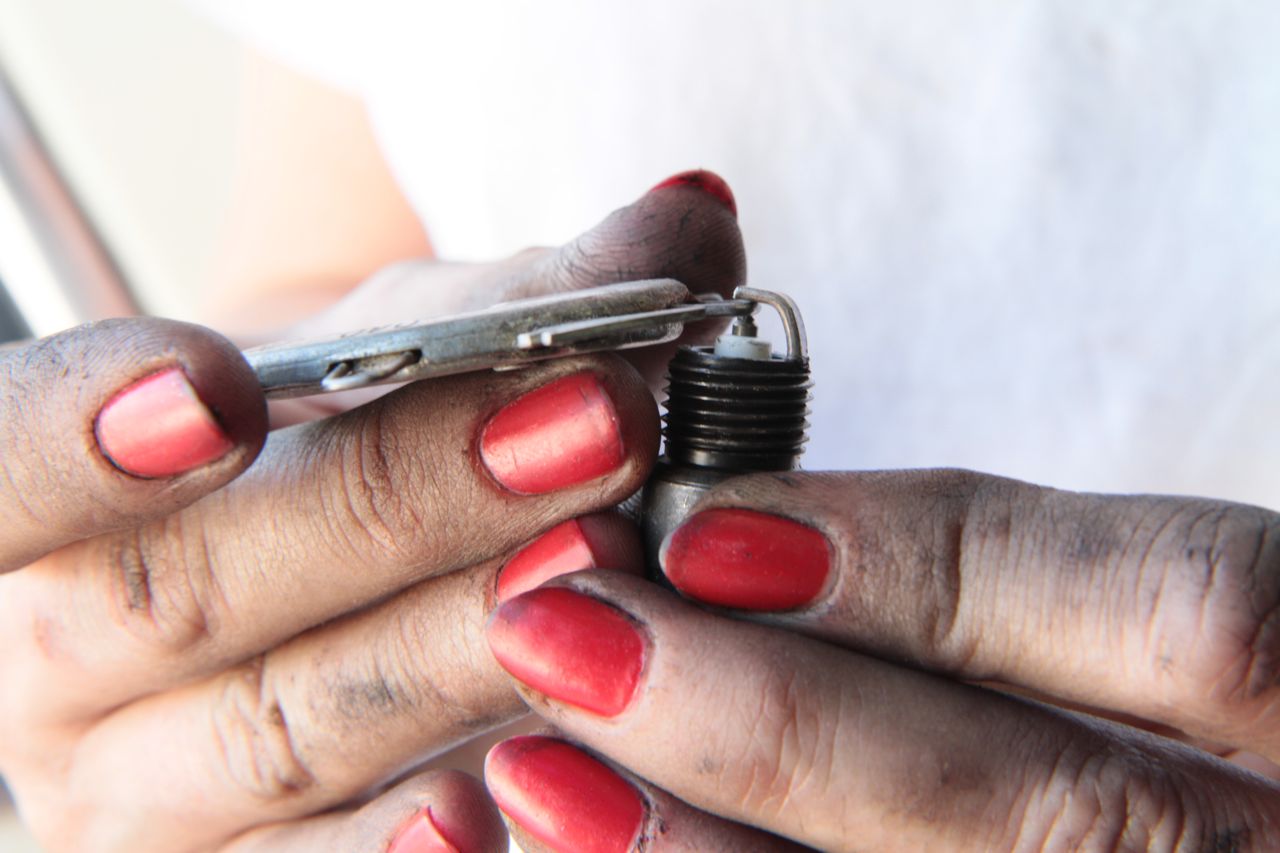
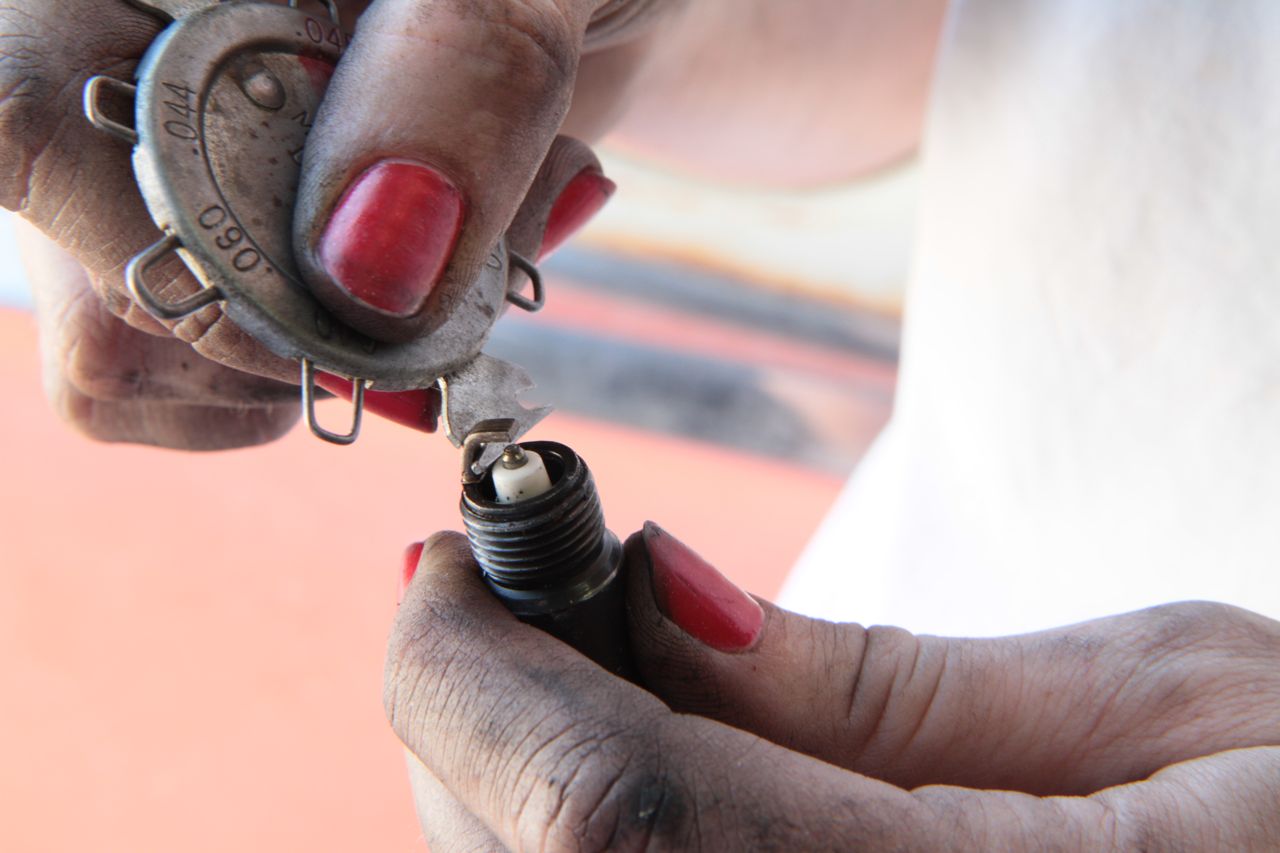
While perhaps some people just throw a set of spark plugs in their engine – if you want your engine to run at its best, you’ve got to adjust the spark plug gap prior to putting them in. So what is a spark plug gap and how do you set it? The gap is referring to the space between the center electrode (that comes up out of the middle) and the ground electrode (that curves around the top).
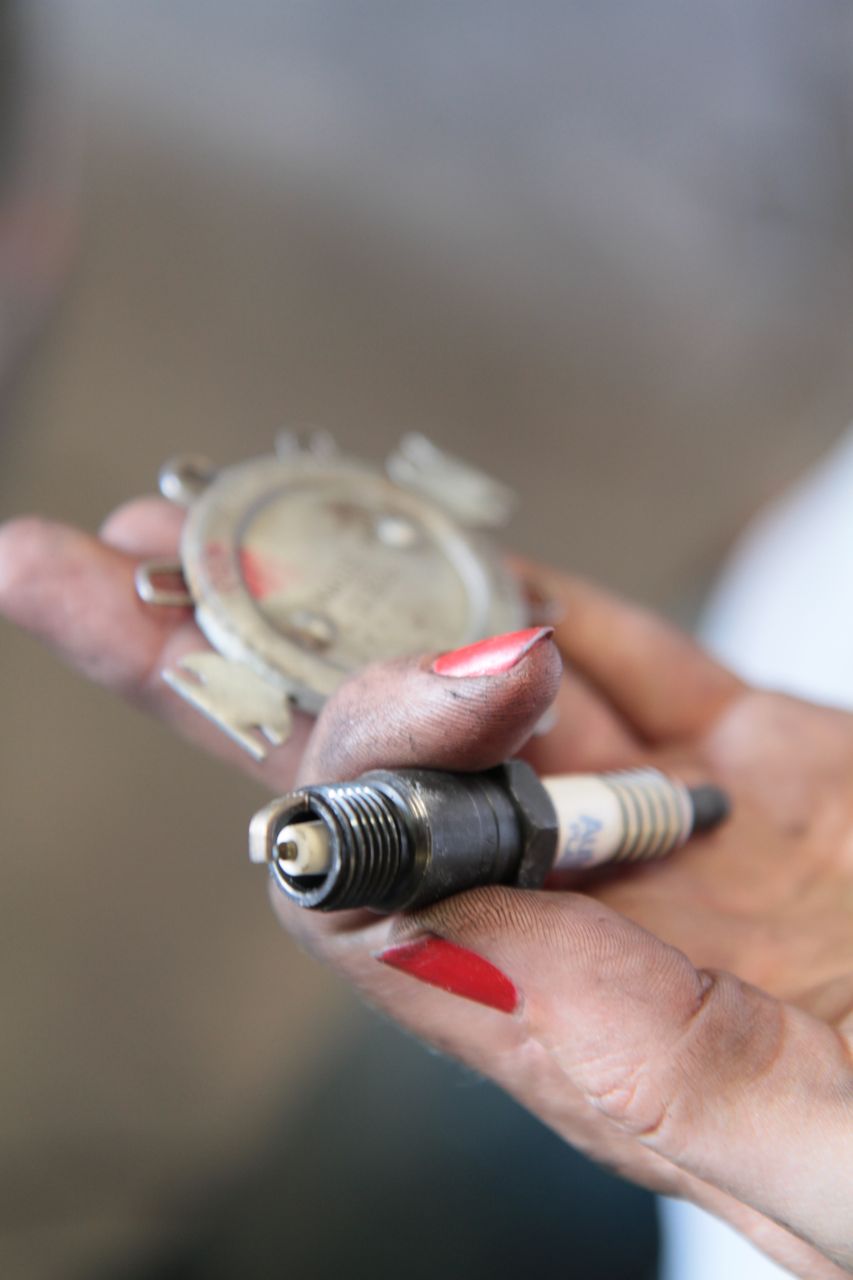
This space is measured using a special measuring tool. The most common tool you’d find to do this is called a taper gap gauge – and is that silver-dollar looking thing you often find by the register in auto parts store. The edge of that “coin” is tapered and its thickness corresponds with the numbers engraved on the top and bottom. Many people feel, although this is a simple tool, that a different style of tool works better – which is the one I used and pictured here. Rather than being tapered its got different thicknesses of wire. So although my tool didn’t have a .052 inch wire thickness, it did have a .050 and a .054. So we used it by determining that the .050 easily slid between the two electrodes and the .054 would not fit between them.
As we adjusted the gap in each spark plug, sometimes the ground electrode would have to be pulled up to widen the gap and other times it would have to be pushed down slightly to shrink the gap. When you’re adjusting the ground electrode, be sure that you don’t hit or press against the center electrode. It only takes a little bit of pressure to move it – so after a little pressure use your tool to check the gap again until you’ve got the perfect fit!
Who knew such a simple thing could make such a big difference? I certainly didn’t. I’d imagine this was one of the easiest things I could do (without even getting my hands too greasy) to make my engine run better. Sparkin!




Nice job on the instructional experience, great pics as well. I am hoping to do a couple my self on some custom projects. I need to get passed my wedding in october 1st. How do you present it as an article in the newsletter?
Hey Eric,
Email me at admin at myrideisme.com and I’ll fill you in. Thanks for stopping by and good luck with the wedding!
What? No rubber gloves (surgical type)? Haha…I saw a guy once wearing them at an Air Force Auto Shop..I don’t like the sweaty feeling. I can’t remember the last time I gapped any…I buy them new and they come gapped,,,haven’t had any problems….want to try those E3 one day when I can afford it.
Go Grease Girl! Whilst I did know how to ‘gap a spark plug’ using a ‘feeler’ gauge, there is a whole lot more I don’t know and would love to see more instructional stuff like this! But of course, stuff that relates to maintenance (for some gals) but building and restoration preferably for me! Love it, bring it on!
For more precision, you could use a number 55 drill. It is .052 inch diameter.