Simple Optima Battery Box Build How-To
Building a Battery Tray for an Optima Battery
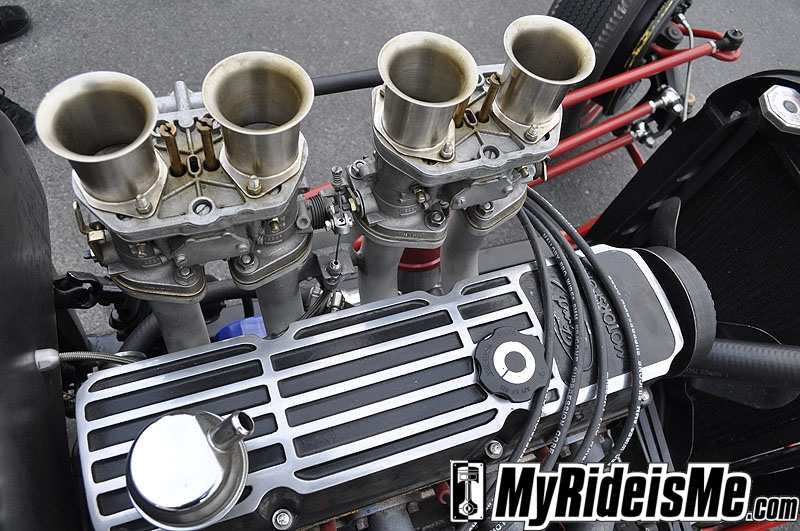
Is there anything worse than when your car cranks, but doesn’t start? (overheating must be a close 2nd) That was the deal with my 1927 Ford Roadster named Bonnie. Especially when I first put the dual Weber 44 carbs on, she was a little hard to start and wasn’t afraid to flood if I wasn’t careful. At the time, I was using a gel-type motorcycle battery. That worked out great because I could mount it anywhere (space is precious in a roadster!) but it was TINY! And… it never lasted long enough when extra cranking was needed.
After one last jump-start at a cruise-in, I decided to step up to an Optima Battery. With some help finding their smallest & lightest battery I decided on the Group 51 Yellow Top (part number 8073-167). At 450 Cold Cranking Amps, it was double the output of the motorcycle battery I was using and will easily survive under the car and mounting on it’s side.
Why Yellow? Good questions! Choosing Red Top or Yellow Top Optima is a mistake alot of people make, so I’ll come clean and say this was not the right choice! I should have used a Red Top because my roadster doesn’t even have a stereo… If all you need is STARTING POWER, then use a Red Top. Unfortunately, at the time, Optima didn’t make a Red Top Group 51. I was happy to have the Group 51 because it fit like a glove and has worked perfectly to start my 2.3L Ford four cylinder engine. (even on long cranks!)
#1: Room to work
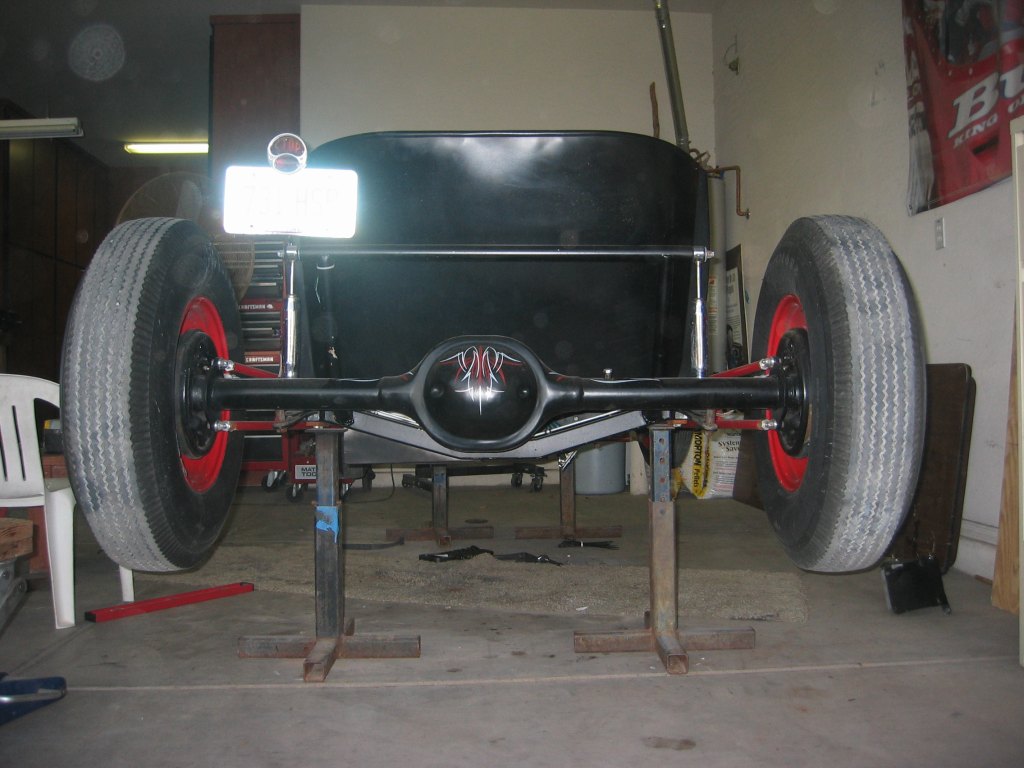 First thing I did is get the car in the air. I wanted to mount the battery under the car and completely out of sight.
#2 Where the battery box will go
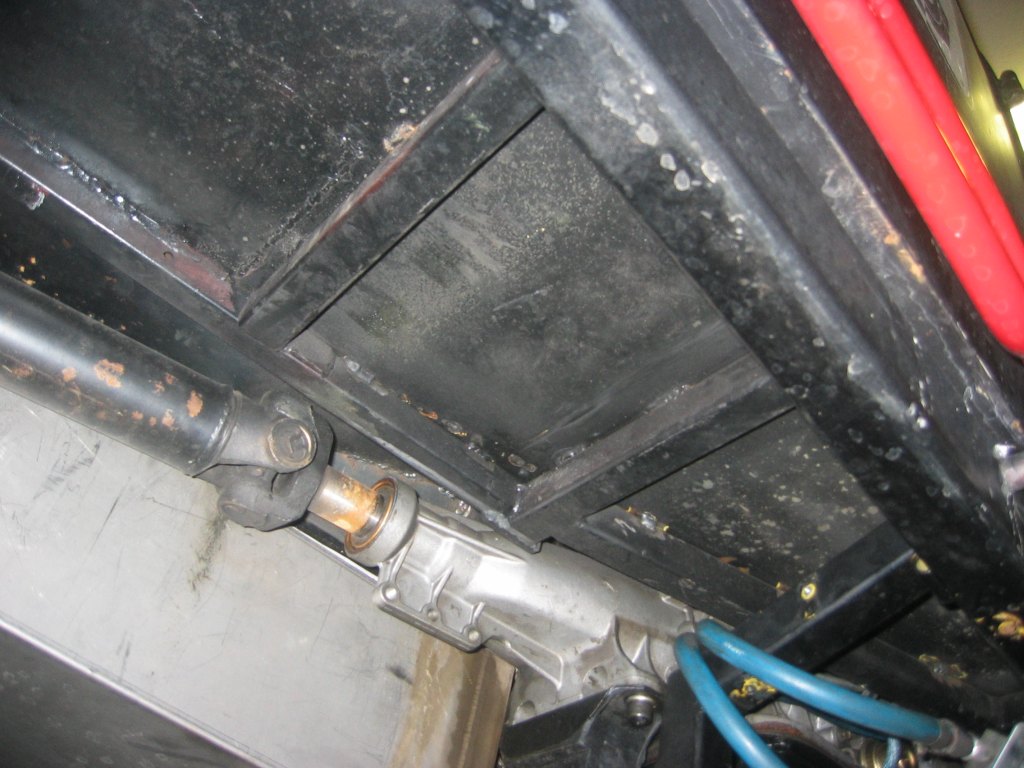
Here’s the spot where the battery will go. I was hoping the battery would fit between the body braces in the floor, and lucky enough, it did fit… fit perfectly really. The 1×1 tubing you see is thick stuff, so I’ll drill and tap there to secure the box. The battery fits between these two braces like I designed it that way!
#3: Raw steel to start with
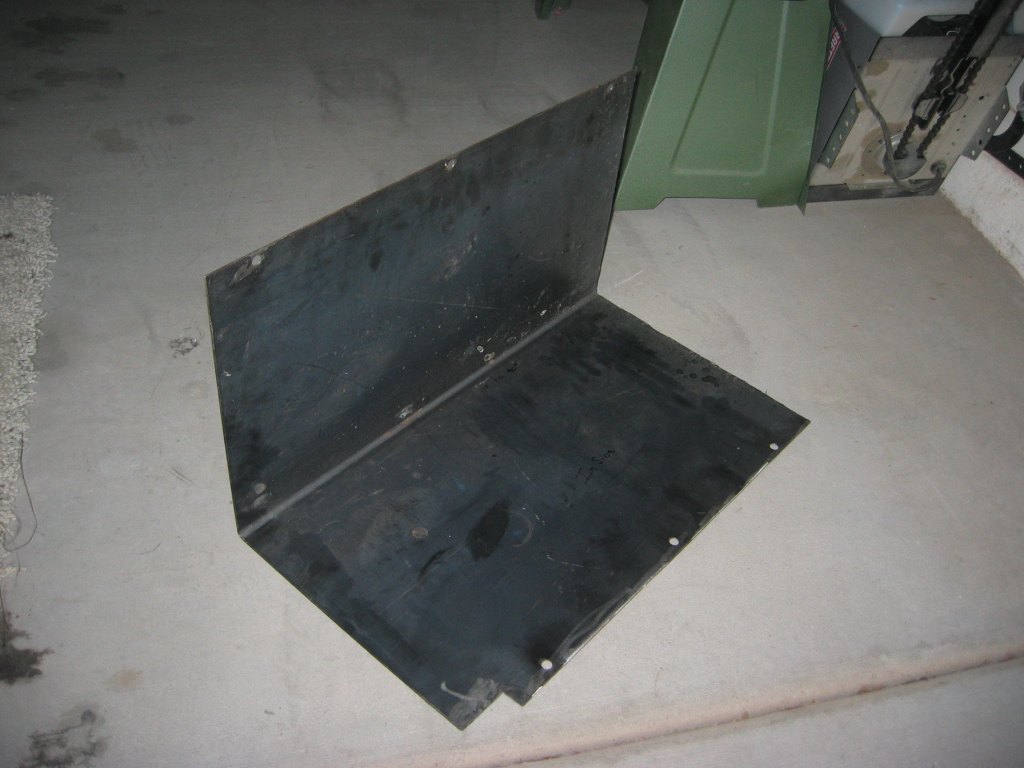
After that, I bent a piece of steel, probably too thick for what I needed… but it was leftover and available! It’s hard to tell in this picture, but this piece is BIG! I could make about 5 battery boxes. I only needed to cradle the battery, so my “battery box” is probably better described as a “battery tray”.
#4 First Bends to the Battery Box (Click to see any picture full size)
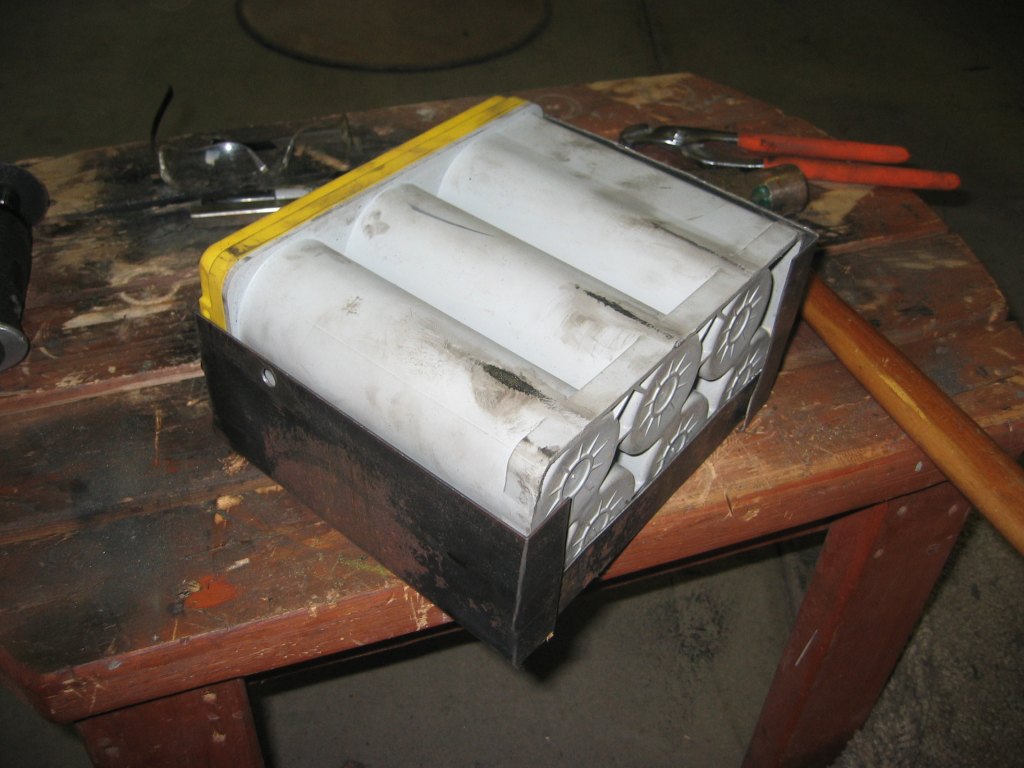
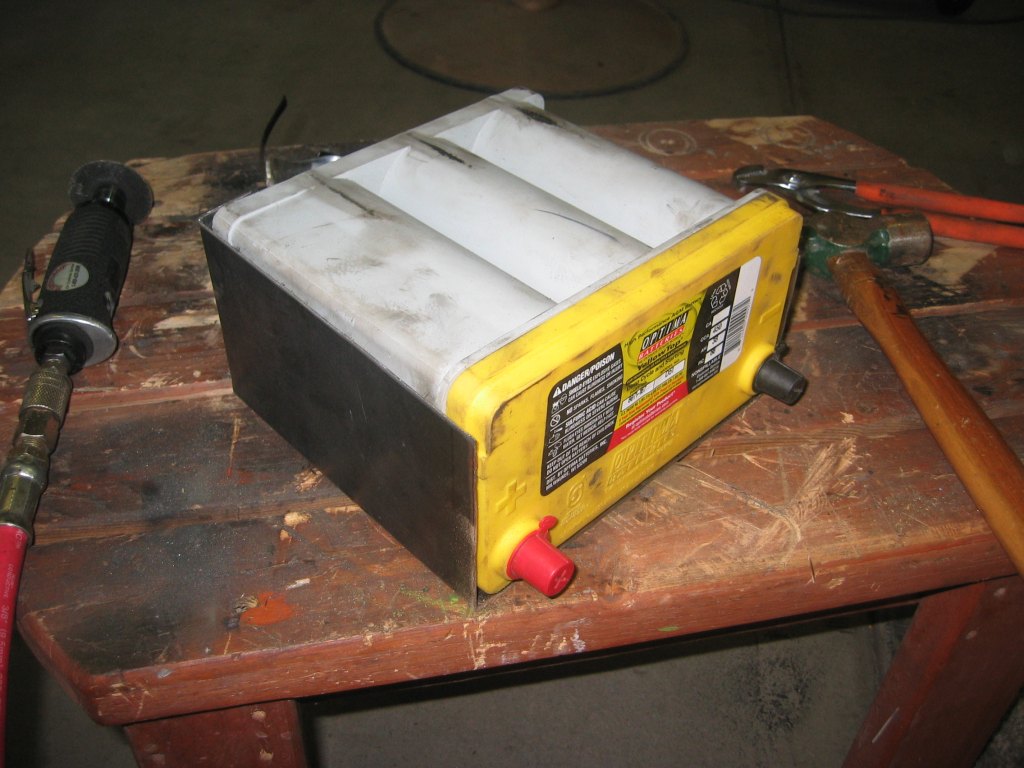
Here’s how the Optima Group 51R fit into the battery box. The bend shown in #3 is at the bottom of the battery in the picture on the right and makes up the box side nearest the positive terminal. On the bottom, I measured, then marked where the bend needed to be (not sure how tight a bend I could make) then notched the metal with a cut-off wheel. It bent exactly where I needed it too and the battery fit snug. The Group 51 comes in standard (D51) and reverse terminal (D51R) configurations if needed. I could have used either.
#5 Close-up of bends
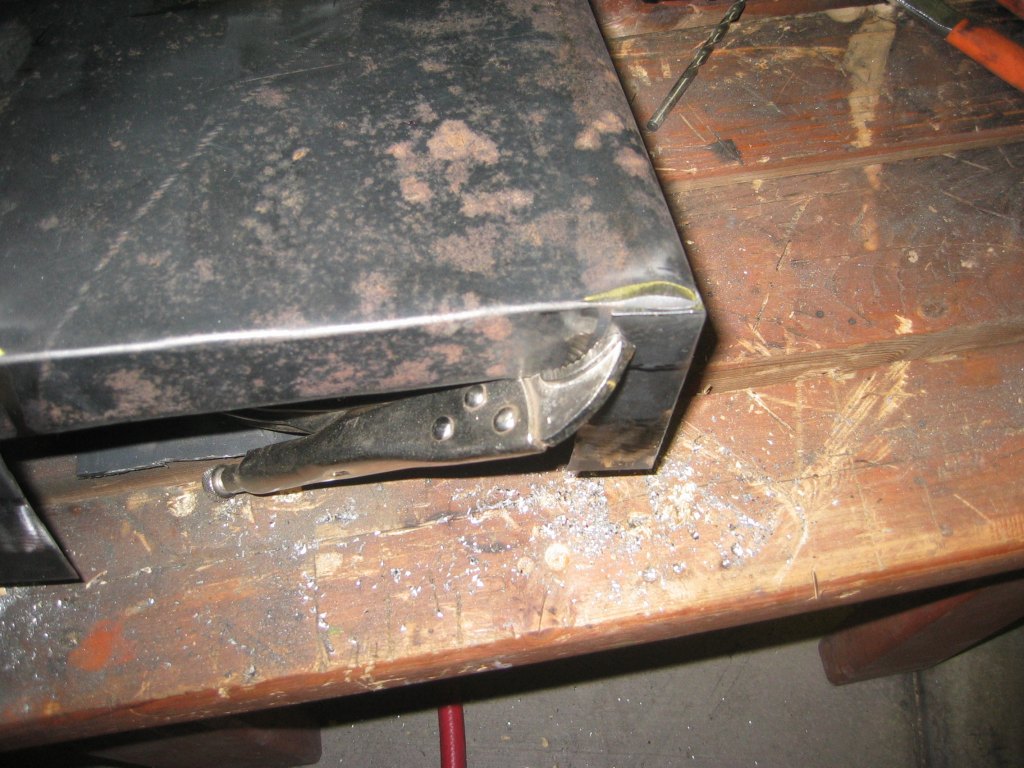
Here’s another look at the bends. I welded where the bends overlap, so overall, this thing’s pretty solid. Vice grips held everything in place before welding.
#6 Fastening Tabs
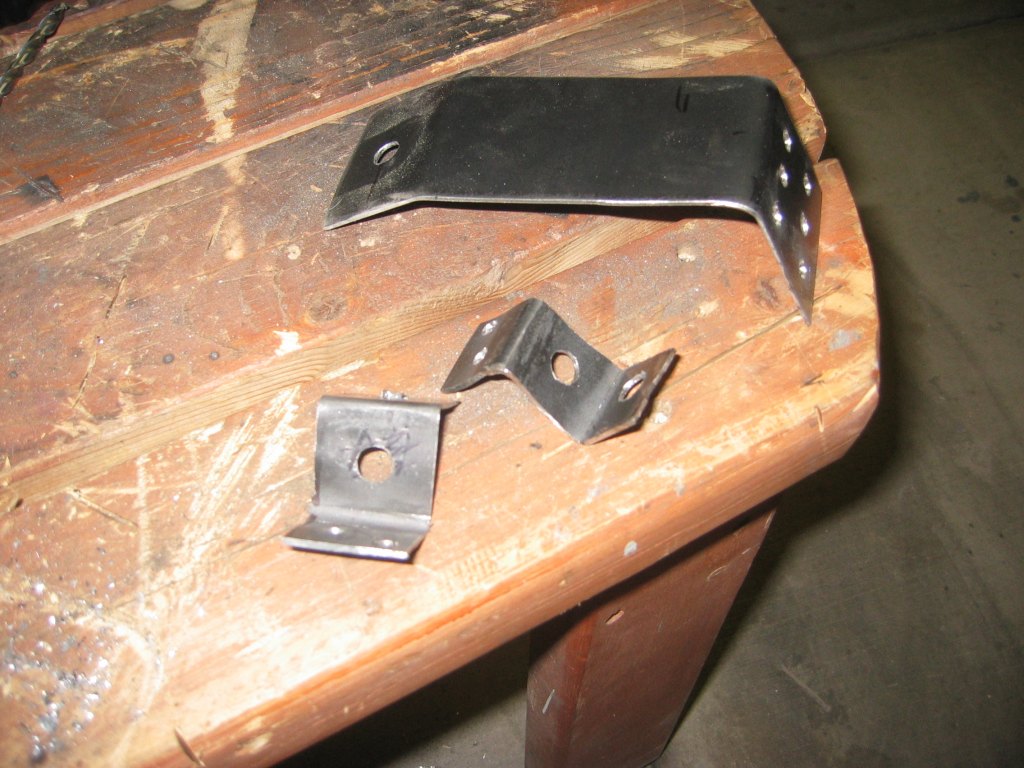
After many, many times under the car, I finally decided how I’d finish mounting the battery to the body support frame. With the space nearly ideal to fit the battery, I only needed two tabs on the bottom, then one on the top. I cut construction paper to get the shape right, then finish cut with the cut off wheel.
#7 Fastening Tabs
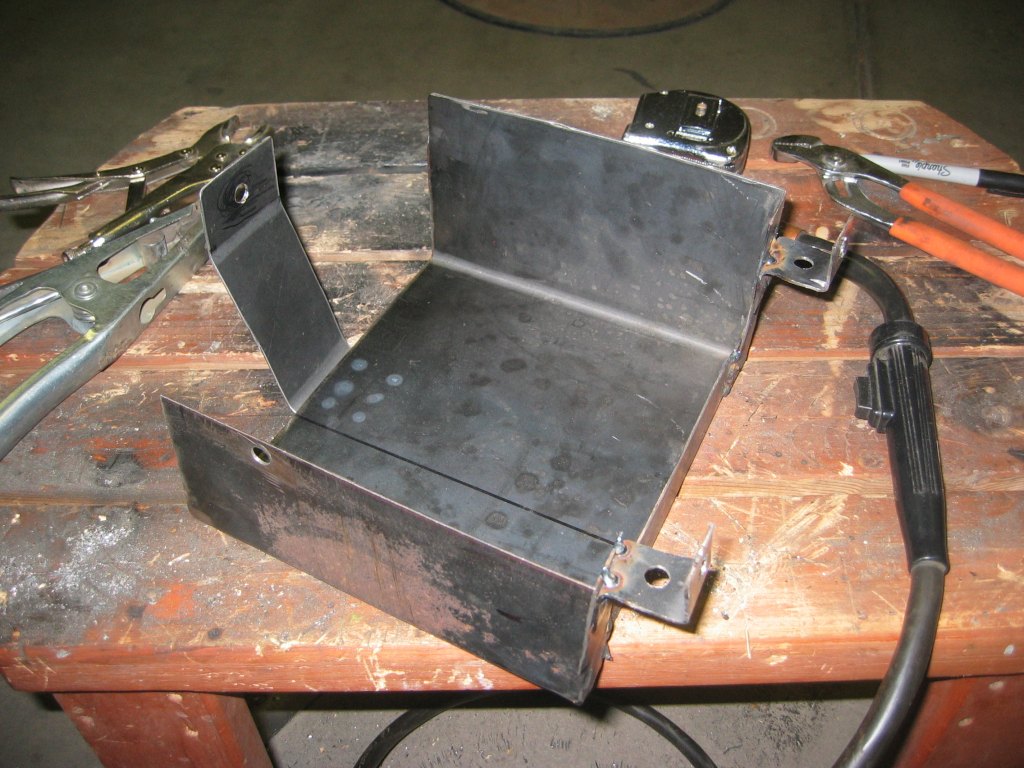
After welding, here’s what the nearly finished battery box looked like. Not too bad! Simple and effective and made at home with simple tools (except the welder). To make it look a little nicer and drain water, I drilled holes with a hole saw, then pained it hot rod black.
#8 Finished and Mounted Battery Box
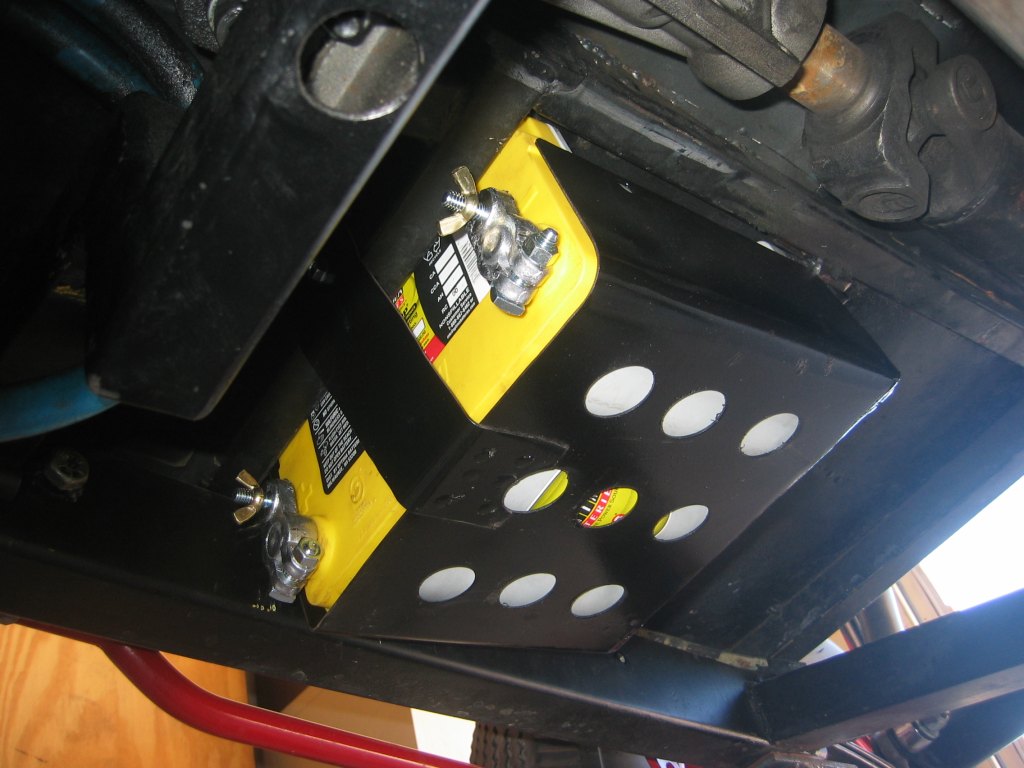
From the battery front which faces to the front of the car, you can see one tab mounting the box. Looking closely, you can see how tight the battery fits. It couldn’t have been any better.
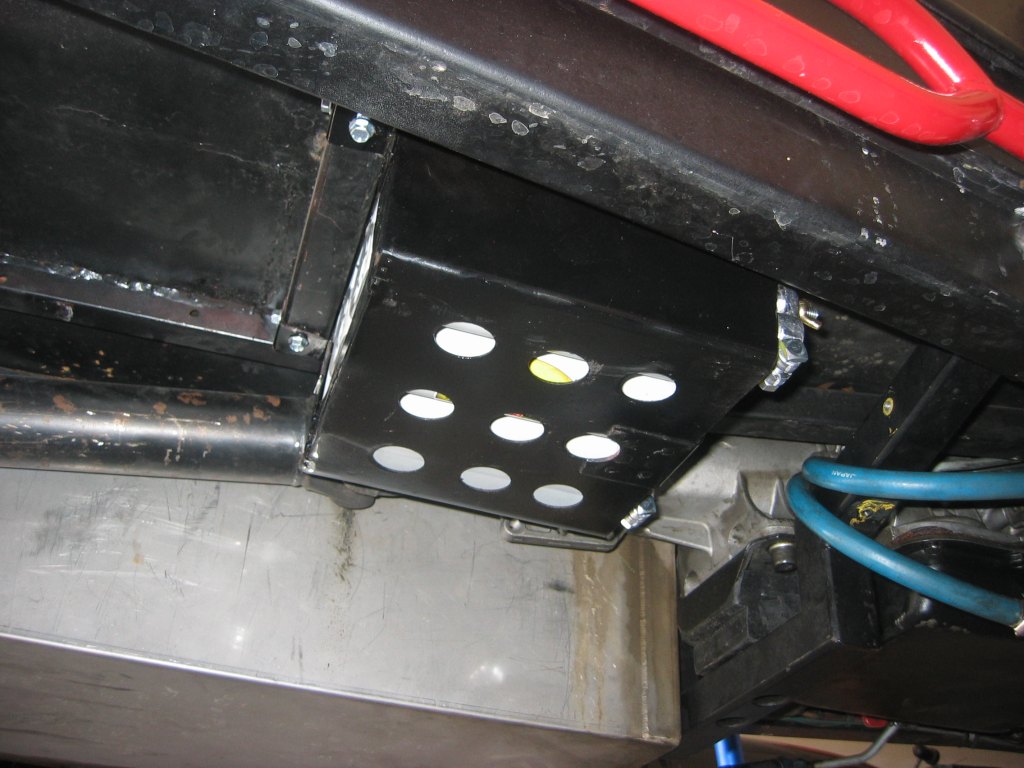
From the battery back, there’s two tabs that mount to the 1×1 body floor frame. I drilled and tapped the 1/8″ thick frame material from the bottom and the back. I’ve never had a problem! Maybe this was overkill, but the battery, while small, still has some weight to it.
That’s it! I was in a situation where I needed to hide the battery in a custom location. There’s no way a store-bought battery tray would work, so I made one! You can too.
I’d love some feedback!


